
In true fashion, I never have all the before photos I should have. But I got this awesome table from Craigslist. I had been looking for a small round table that could expand with leaves. I found one that was pedestal style, but my husband worried that our crazy little family would knock over something that essentially only had one leg. So, this table won out with a 4-leg advantage and it’s super sturdy.

It came with 4 side chairs and 2 captain chairs but when I first started working on painting the chairs, I was big and prego and loaded all the chairs up on a dolly, so I wouldn’t have to make so many trips carrying the chairs out to my garage, and one of the precariously perched chairs tumbled to its demise. One of the legs broke. 😦 Fortunately, we found a guy who could fix it. Unfortunately, I have not yet picked it up so it’s not included in any of these pics.


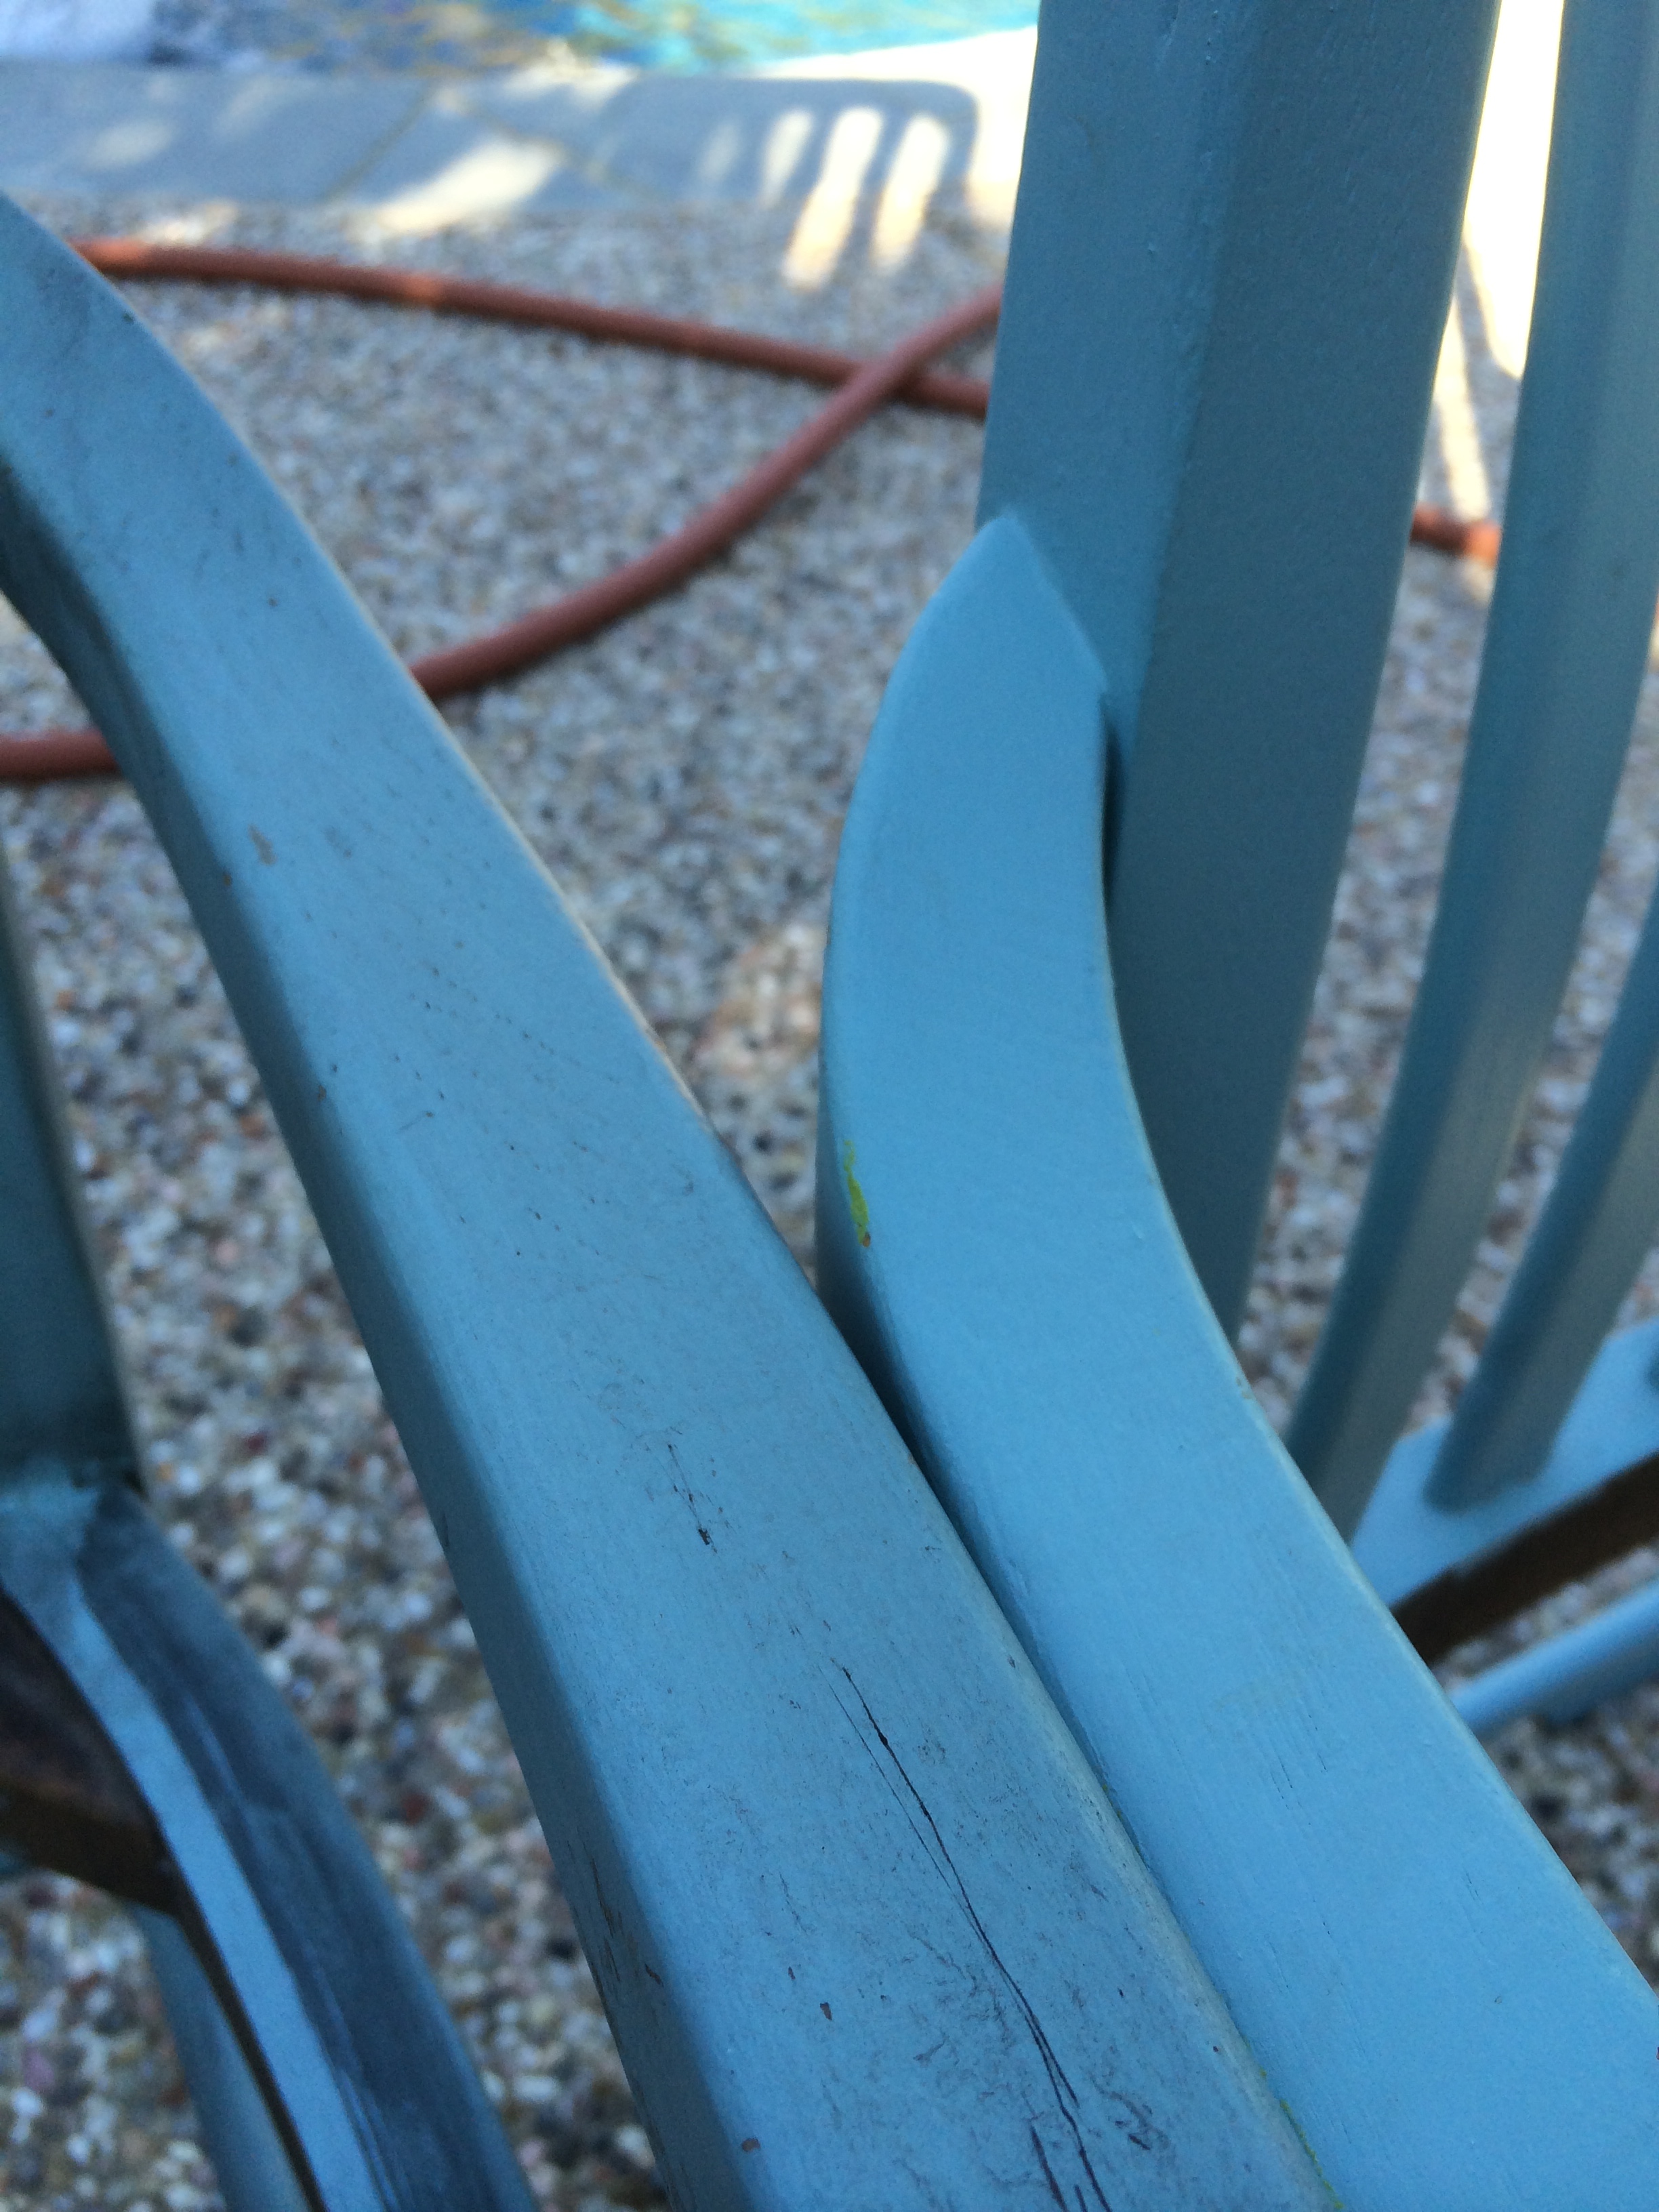
I bought this table when we were living in a house where the breakfast nook, where this table would be going, had cream and mossy colors. My plan was to stain the top of the table a dark brown, like kona, and paint the chairs in different colors. Two were going to be a light powdery blue, like this (it looks lighter in the pic than it is):

Two were going to be green like this:

And the last two chairs and the legs of the table were going to be an heirloom or antique white. I then planned to glaze the chairs and legs with the same stain color I used for the top of the table. Well, since I was big and prego, a baby came out before I finished the table. I had only painted the blue and green chairs with homemade chalk paint. We also moved about a month after I had our baby and our new breakfast area had much brighter and cooler colors, white, sea salt blue, grey, and black accents. And our wood floors have very grey tones. I no longer wanted to stain the table kona but wanted to use black stain instead.
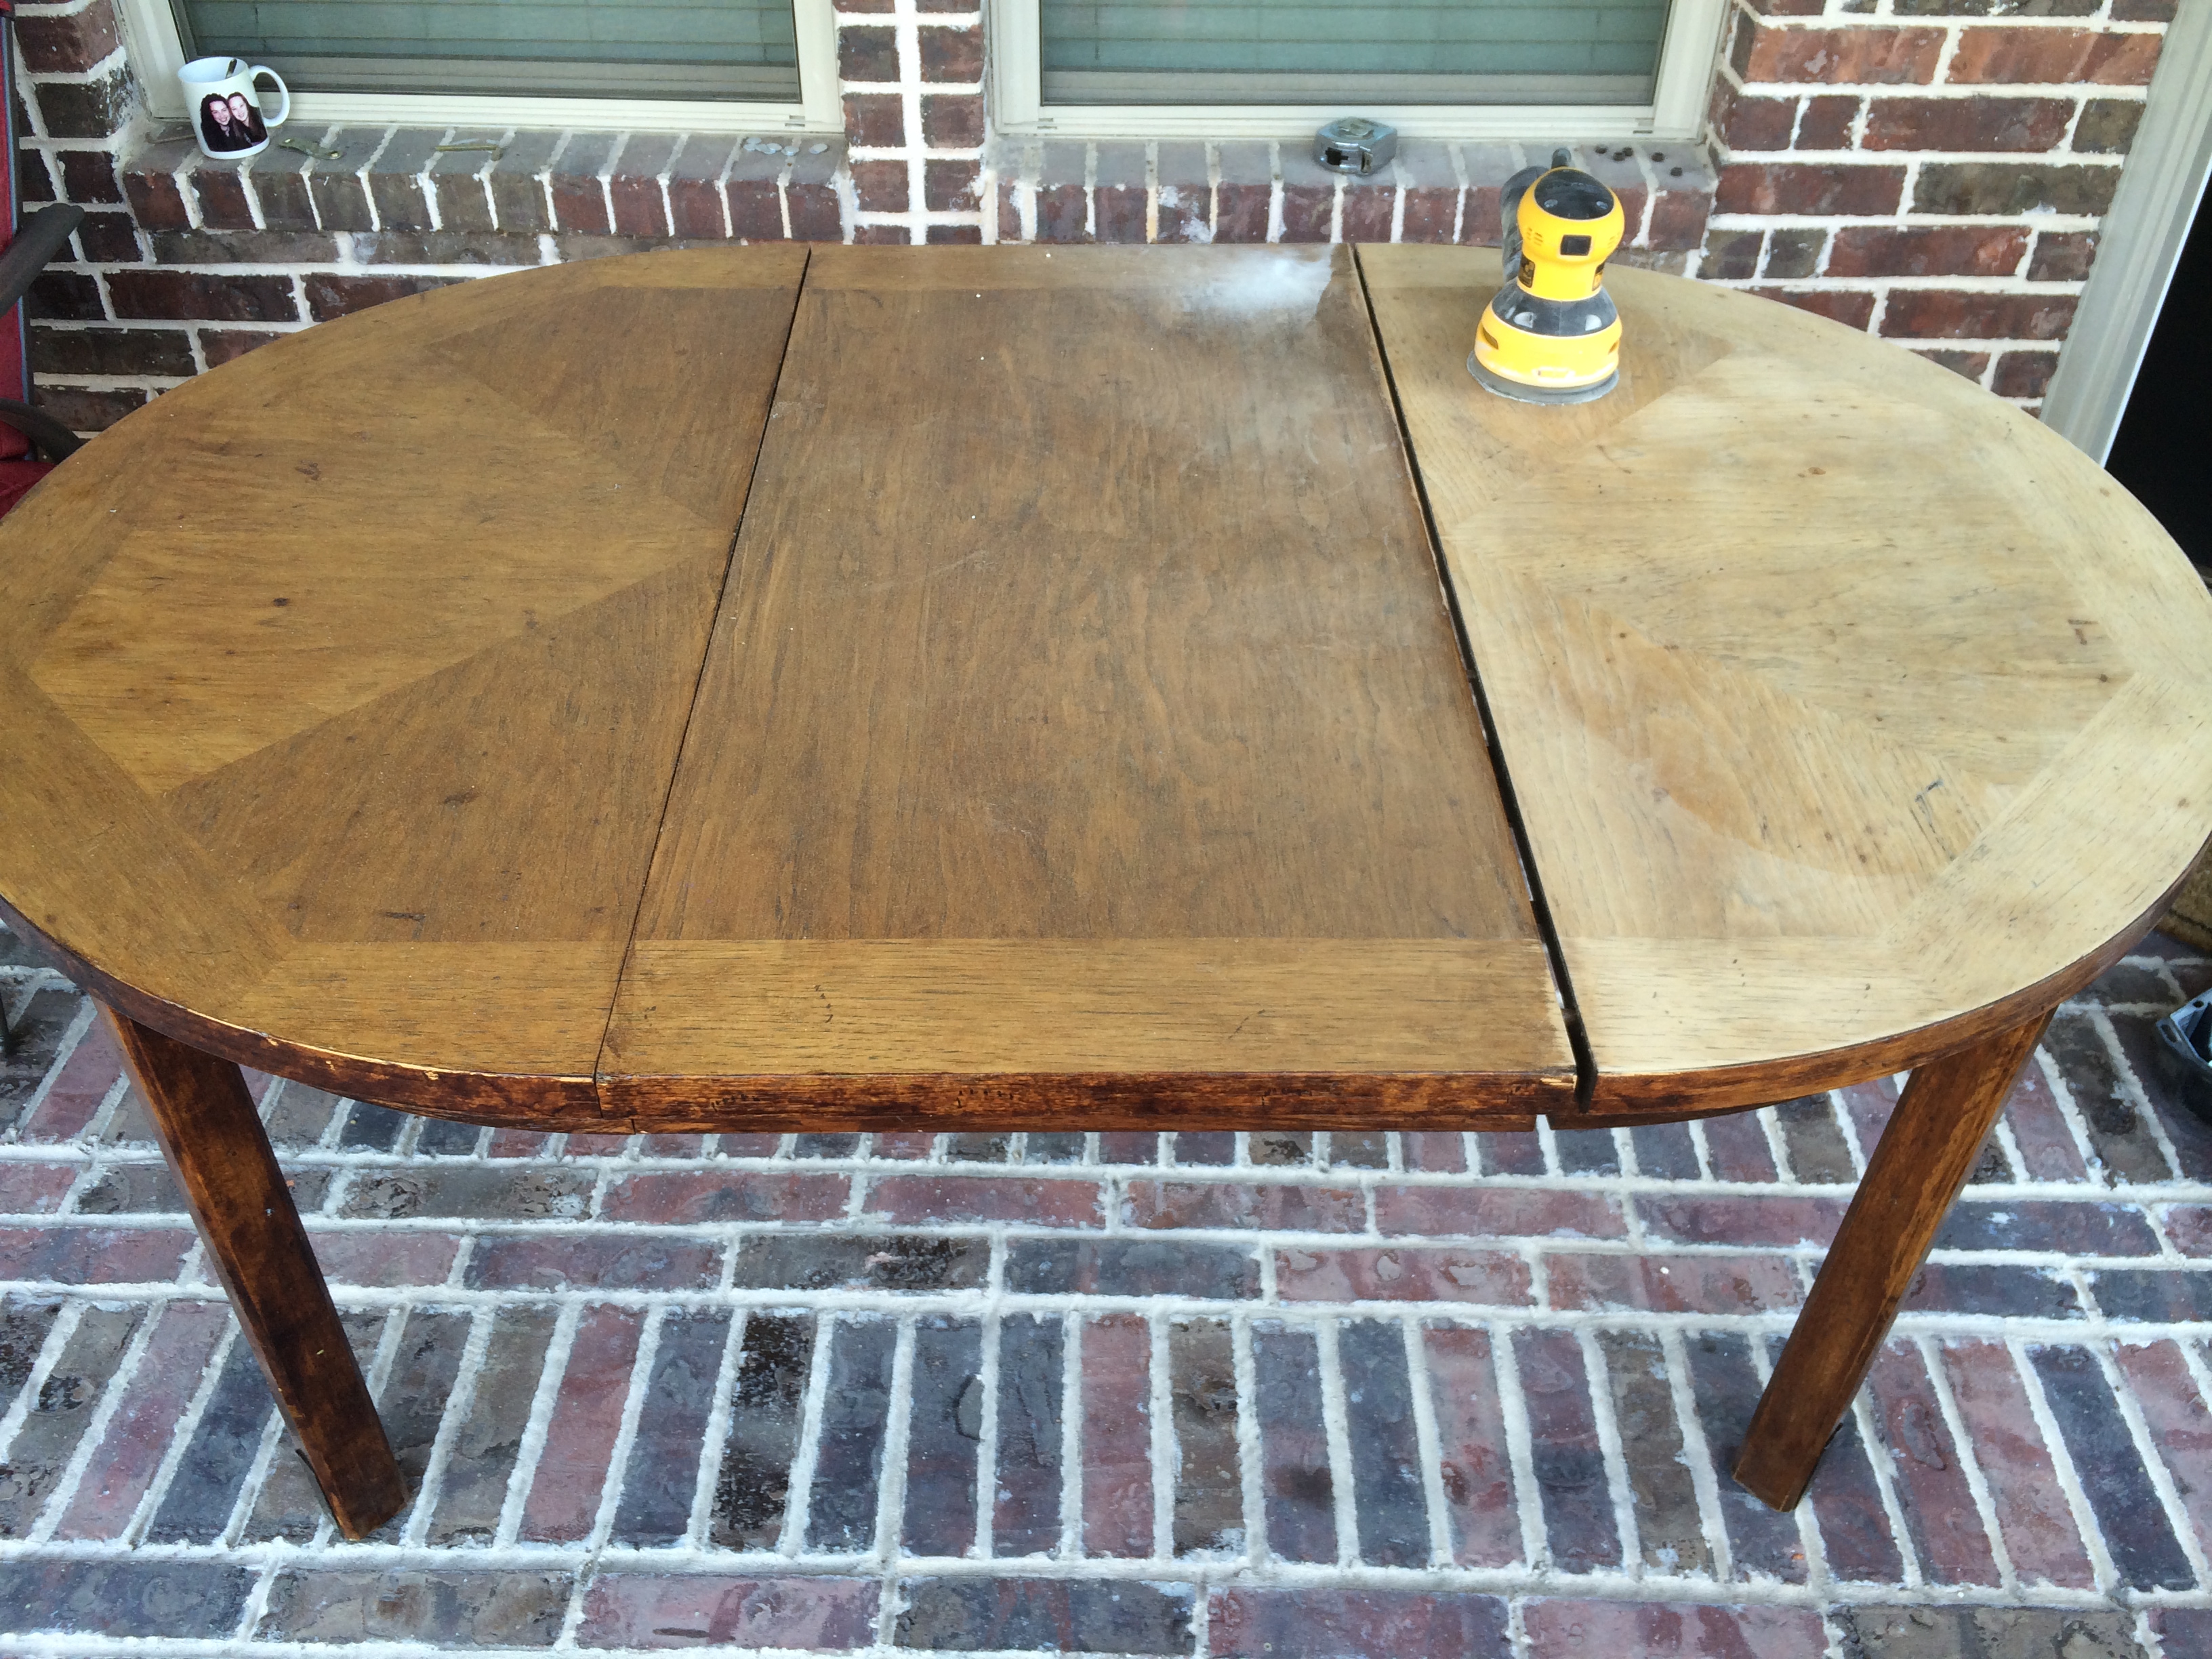
If you can see in the pic below, the woodgrain of the table changed direction on the outer sides of the table, the parts that make the small round table when the leaves are removed. The design was a diamond that got cut off by the table’s edge.

After my sweet husband sanded the table top and edges for me, I wiped the surface clean and brushed on Minwax Pre-Stain. I had read horror stories about stain not adhering evenly without it. This pic below shows what the freshly brushed on pre-stain looks like.

The pic below is all pre-stained, I think the day after I pre-stained. I wanted to accentuate the diamond pattern and so added additional diamonds on the leaves.

To make a diamond pattern, decide how large you would like your diamonds to be and figure out that measurement. The leaves in my table had a line that went through the middle of the leaves, dividing them into two squares, not including the table edge. Those two squares were about 20″ tall by 18″ wide or so and I just used those measurements. After you have your square size determined, you then have to have find the middle points of each side. For my diamonds, I drew little marker lines at 9″ at the upper vertical middle (the halfway point of 18″ wide) and 10″ at the right horizontal middle (the halfway point of 20″ tall). I then drew a marker line at 9″ at the lower vertical middle and 10″ at the left horizontal middle. You can lightly draw with your pencil to connect these lines to make sure your diamond edges will match up. This will draw a t or a cross on your space. You will then use a straight edge to draw your diamond lines. I started at my left horizontal middle and moved my ruler to meet from that point up to the upper vertical middle point. This made the upper left line of the diamond. I then connected the upper vertical middle point to the right horizontal middle point, making the upper right line of the diamond. Then did the same with the lower vertical middle point. After I had the diamond lightly drawn, I taped it off with 1″ painter’s tape. I tried to take pics of this, but the pencil markings were too light to show up on the camera. So I drew a not-to-scale representation below.


Let me know if you have any questions.
I wanted my diamonds to be glossier and darker than the rest of the table top and experimented with Polyshades in black gloss. The kind you have to brush on. Polyshades is a very interesting product. It’s basically a tinted polyurethane. The effects are somewhere between stain and paint, in my opinion. It’s much more opaque than stain but not quite as opaque as paint. For projects where you want to accentuate the wood grain, I would NOT choose to use Polyshades. But, for projects where you want a dark, stain-like finish and don’t care about the grain, it’s awesome. When it warms up again, I plan to spray my brown piano with black gloss Polyshades. I’ll post that when it happens.


I did two coats of Polyshades on my diamonds and then removed the painter’s tape. The Polyshades is pretty thick and sits on top of the surface, it doesn’t absorb into the surface as much as a stain. It made a very nice almost raised edge on my diamonds that I could see when I removed the tape.
I debated what color stain I wanted to use around the diamonds. I worried black stain might be too dark and too close to the black diamonds. I ended up getting ebony stain by Varathane. It was the same price as Minwax. The only reason I chose Varathane over Minwax was because the store I was in had a little sample wood piece with the Varathane ebony stain and it looked like the finish I wanted. I don’t have pics of me applying the stain because my hands had stain all over them. Well, the gloves on my hands had stain all over them and I didn’t want to get it on my phone. But I brushed the stain on lightly in the direction of the grain and then wiped it off and rubbed it into the wood using a staining pad. My triceps were sore after this project. I liked the look after one coat and ended up only doing one coat of stain to maintain the aged feel. I thought that I could brush the stain on the existing diamonds and that it wouldn’t affect it because black is black, right? Well, it made the diamonds look cloudy and not nearly as awesome. So, after I finished staining the rest of the table top, I then went over the diamonds with Polyshades again and very painstakingly stayed within the lines freehand style. I didn’t want to put painter’s tape down again and pull up any of the color I had just applied. That nice edge the Polyshades made helped this process immensely.


After seeing the newly finished black table top, I didn’t think the green chairs would match anymore. I mentioned this to my husband who then decided to tell me that he hated the green color chairs anyway. Well, okay then. Death to greenie. But I had spent a lot of time brushing chalk paint on those chairs and I wasn’t in the mood to do that again. Instead, I decided I’d try heirloom white spray paint by Rustoleum. And this is one of the times I forgot to take a picture. But two green chairs became two white chairs. The spray paint worked beautifully and I did one main coat and then a touch-up coat. By the way, I used to hate spray paint because of inconsistency in coverage and drips and finger fatigue. And then I bought one of these spray gun handle things. Now I love spray paint. It’s like $2 and it changed my life. Get one. I also sprayed the last two chairs with Polyshades black gloss spray. It cost about $10/can and one can wasn’t quite enough. But I love the finish on the chairs. I did quickly/lightly/haphazardly/lazily hand sand the chair and wipe it clean with baby wipes before spraying it with the Polyshades. Worked beautifully.

I then had to paint the bottom half of the table. I was a bit worried about what the white legs would look like with the new black top. I thought it might be too stark a contrast, even though I planned to glaze over the white. I looked at more Pinterest pics of dark tables with white legs to boost my confidence. Hubby is the master wrapper in our house, (I’m the master rapper) so he wrapped up the table top for me so I could spray away on the legs.


I then set out to glaze the whites and blues. I initially tried my normal glazing technique, mixing black paint with glaze and rubbing on and rubbing off, but it wasn’t adhering very well. I couldn’t figure out what the problem was but opted to try antiquing with stain for my first time. It was coming out too dark with this method at first, just rubbing on stain and rubbing it off. The white was becoming grey, not antiqued white. Then I remembered watching someone glaze a wall once and they wiped off the stain with mineral spirits, which I had on hand, so I tried it and it worked great.

This was too grey.

Here you can see the horizontal bar has been wiped with mineral spirits and the leg has not yet been wiped.
Slap it on thick, wipe it with mineral spirits. The hardest part for me was having enough clean rags. Once the rag gets covered in removed stain, it stops being able to remove as much stain as I wanted.


Some pics before I recovered the seats:


I recovered the seats with burlap, which I have never worked with before. I got it from Hobby Lobby and it was wrinkled from being folded in the bag for ages, waiting until I got around to using it. I looked up tutorials on washing burlap, hoping the machines could unwrinkled the burlap for me. I attempted a few of the methods I read about.
Washing in the machine on gentle cycle resulted in this mess:


Hand rinsing it (basically just to wet it) and tumble dry low heat resulted in what’s below. It seemed to shrink the burlap some. It was much more wrinkled than before and felt tight.


And hand rinsing, fluff air dry resulted in this:

So, I opted to just iron the stuff and call it good. It worked out pretty well. I put a fleur de lis print on the captains’ chairs and a chevron pattern on the side chairs.


And to finish it all off, I wanted to add a protective layer of spray Polyurethane but it wasn’t working out quite like I wanted. It worked great on the chairs and they feel like they have a nice, factory finish. I didn’t use it on the black chairs, though because I noticed when I sprayed it on the table, it wasn’t as glossy as the glossy polyshades. I quickly wiped it off of the polyshades with a baby wipe, to avoid having to hand paint the diamonds again. The spray also left little droplets on the larger surface area of the table, so I rubbed it into the table with a cloth anyway. I’d probably just go with wipe-on Poly the next time for the table top, but like I said, the painted chairs came out great using the spray poly.


And I still may put some black rub n buff on the metal plates at the base of each table leg. I haven’t decided yet. What do you think? My husband was very skeptical that he would actually like the finished product as I described it to him and as he watched the process. It is now probably his favorite project I’ve ever done. He loves it and thinks I could sell it for lots of money. That’s a compliment from him 🙂 I also love how it turned out. The pics don’t do adequate justice for the colors, but you can get an idea.

So one last before and after:
I do not receive any compensation from any of the brands recommended here. Those are just the items I used. However, if they ever decide they want to compensate me for sharing, then I’ll say, “Um, heck yes, and thank you.”

That came out great and I agree with your hubby. You could probably sell it for some good momney but I personally would not want to part with it
LikeLike
Haha, thank you! I do love it, too. It’s one of the few things that gets wiped down almost immediately after use, haha.
LikeLike
I see huge monetizing potential on your website.
I browse your blog often on my smartphone and don’t see any ads.
You can monetize all your mobile traffic very easily just by installing simple wp plugin, just search in google for – Dremosny’s mobile
ads plugin
LikeLike
Thanks, Phillis! Since we have a wordpress.com acct instead of .org, we can’t add plugins, but we have applied to wordpress.com to be able to have ads when our site traffic warrants it. 🙂
LikeLike