
I think mercury is fascinating (it’s also an awesome song by The Counting Crows.)
Arguably the most beautiful heavy metal in existence, it kind of loses its appeal when you find out it happens to be deadly, so that’s kind of a downer. But it’s just so crazy to see a metal be a liquid at room temperature. This is also probably one reason mercury was used anciently, because it didn’t require heating to make it liquid and easily incorporated into the manufacture of other goods. That’s just my guess. I could be way off.
Mercury was originally used to make the reflective surface of mirrors, which would probably be considered the first mercury glass. But what we know and reference as mercury glass didn’t actually use mercury. Instead, it was made by blowing double-walled glass and filling the center with a solution of silver nitrate and grape sugar and then sealing the object to contain the silver solution.
This tutorial is meant to mimic the effects of this silver nitrate solution on glass, but eliminates the hard parts, like, you know, blowing double-walled glass, and obtaining silver nitrate, etc.
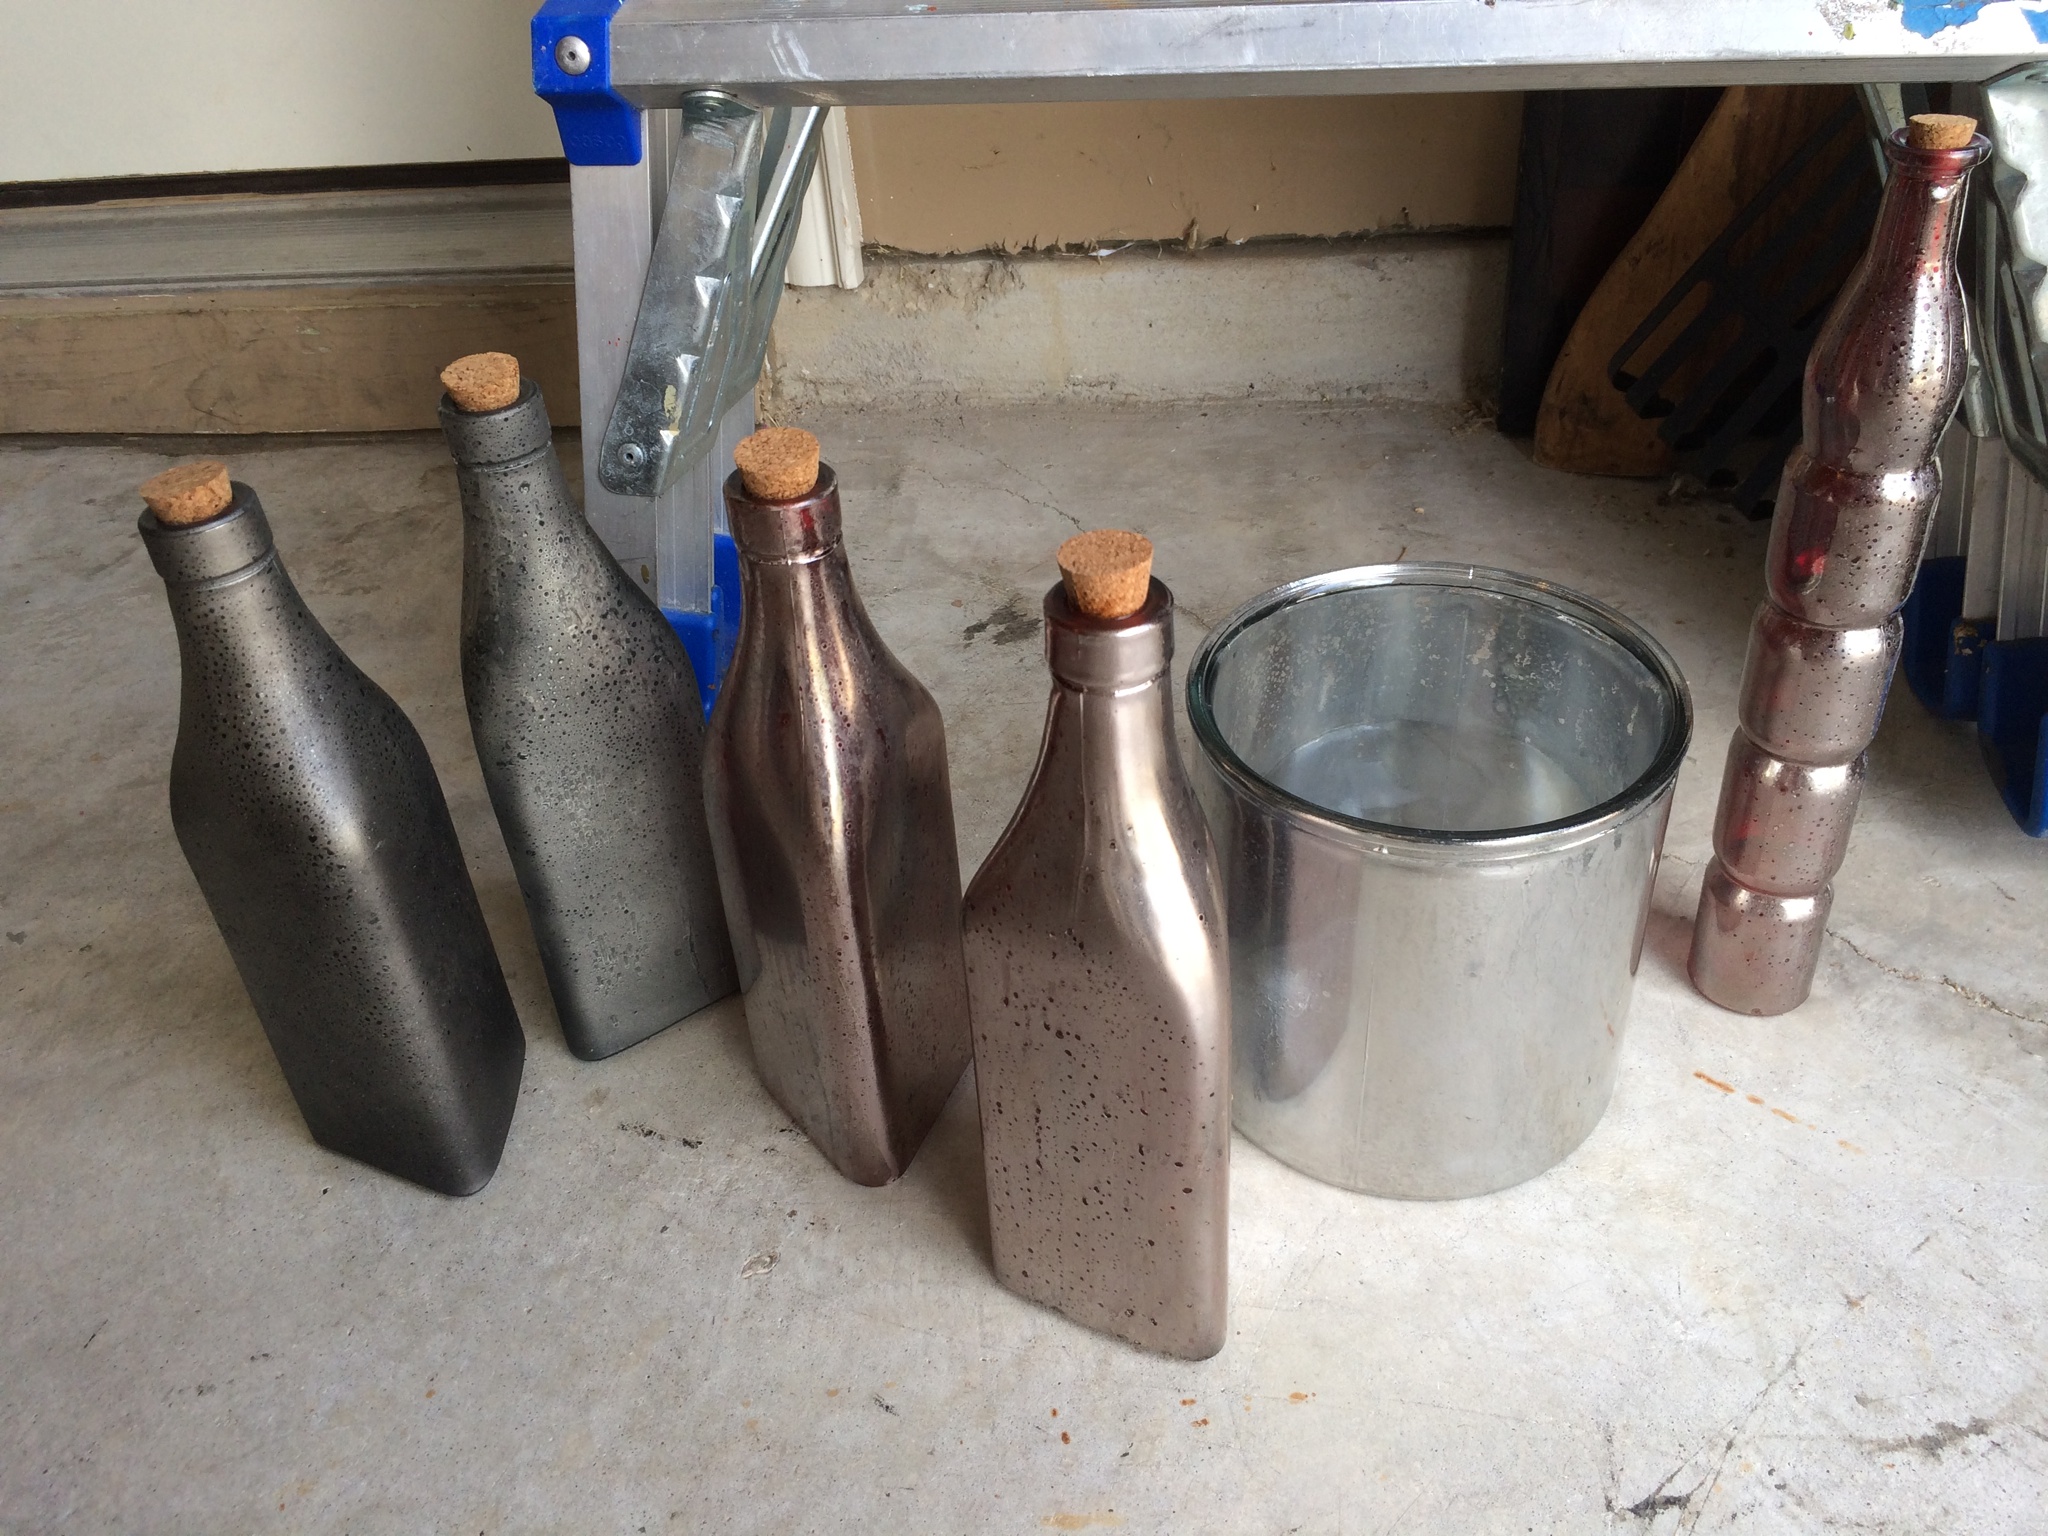
I had on hand some decorative glass bottles that no longer matched my color scheme. They were mostly red and black and my current main color scheme consists of greys, blues, oranges, and silver. I actually listed these bottles to sell them but then decided to see how this mercury glass tutorial would work on colored glass. Our new house also had frosted white glass pendant lights in our kitchen, hanging on antiqued bronze metal rods. The bronze totally didn’t match anything and the frosted white looked a little cheap to me. So, they got dragged into this experiment as well.
Here are some before pics of the items:


The supplies you will need are:
1. Glass items you want to make look like mercury glass.
2. A place to safely spray paint and drop cloth or cardboard if desired to protect ground. (I used black garbage bags to protect our driveway and an old box to raise the items off the grass.)
3. Krylon Looking Glass spray paint. I’ve found this at Walmart, but it sells out quickly. I believe it only comes in a small size spray can, not normal spray paint can size.
4. A spray bottle containing a mixture of half white vinegar and half water. I think I just mixed 1 cup white vinegar and 1 cup water.
5. Dry paper towels or lint free cloths you don’t mind getting stained.
6. Optional, but I love using the little spray paint handle gun trigger thing. I got mine in Walmart in the spray paint section. It helps me paint more evenly. It’s the black thing in the picture above, in front of the Looking Glass spray paint. Also optional, gloves.
So first, you want to make sure your glass is very clean. I just washed mine with soap and water and dried them off before taking them outside. I recommend working with one piece of glass at a time because the vinegar mixture and the paint dry too quickly to effectively do more than one piece at a time.
Spray the vinegar solution all over the first piece of glass. It’s best if you can get a fine mist, so that it leaves wet beads on the glass but not so wet that the beads start dripping down the glass. You will inevitably get some drips, but you’re looking for droplets, not streaks. Once you have a nice fine mist all over the glass, then quickly spray the Krylon Looking Glass spray all over the item. As soon as you’re done spraying the Looking Glass spray, dab the bottle with the dry cloth. Those beads that were on the bottle will come off onto the cloth and take the silver off with it, leaving the mercury glass effect in its place.
This technique turns out very differently on different types of glass. I did this on opaque black glass, on transparent red glass, on clear glass, and on frosted white glass. The opaque and frosted glass still look really cool but do not have the mirror-like effect, but a much more matte finish. The transparent and clear glass look much more like traditional mercury glass. I actually really like the effect of the red transparent glass. You can see all these below:
Black opaque glass before:
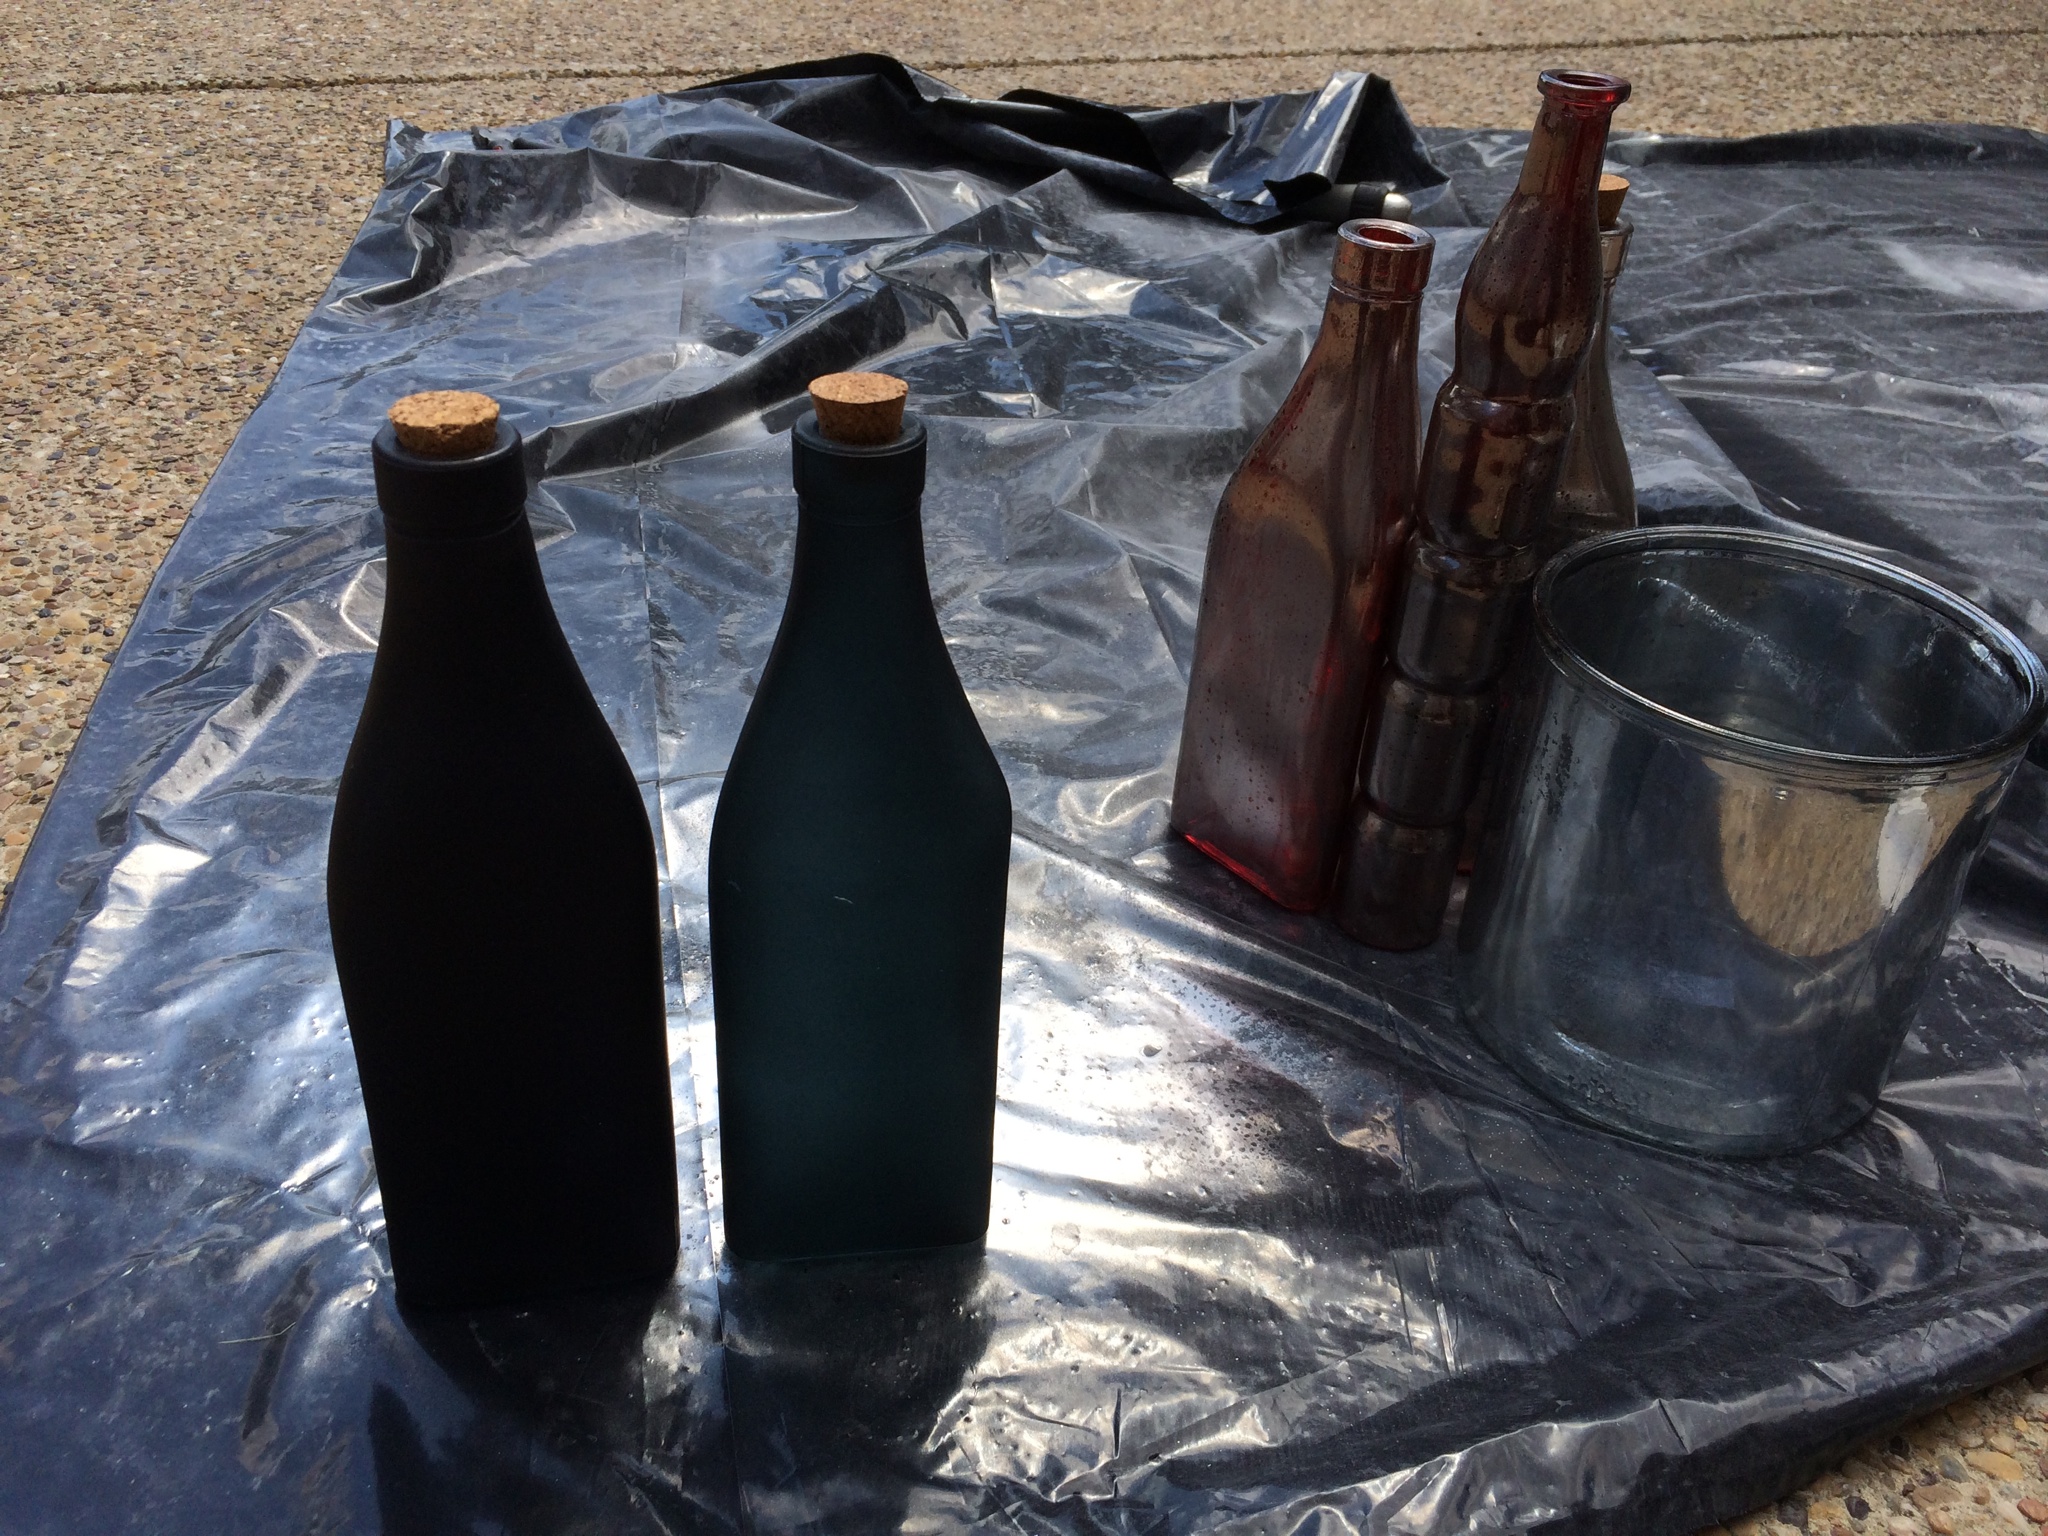
Red glass before and after:

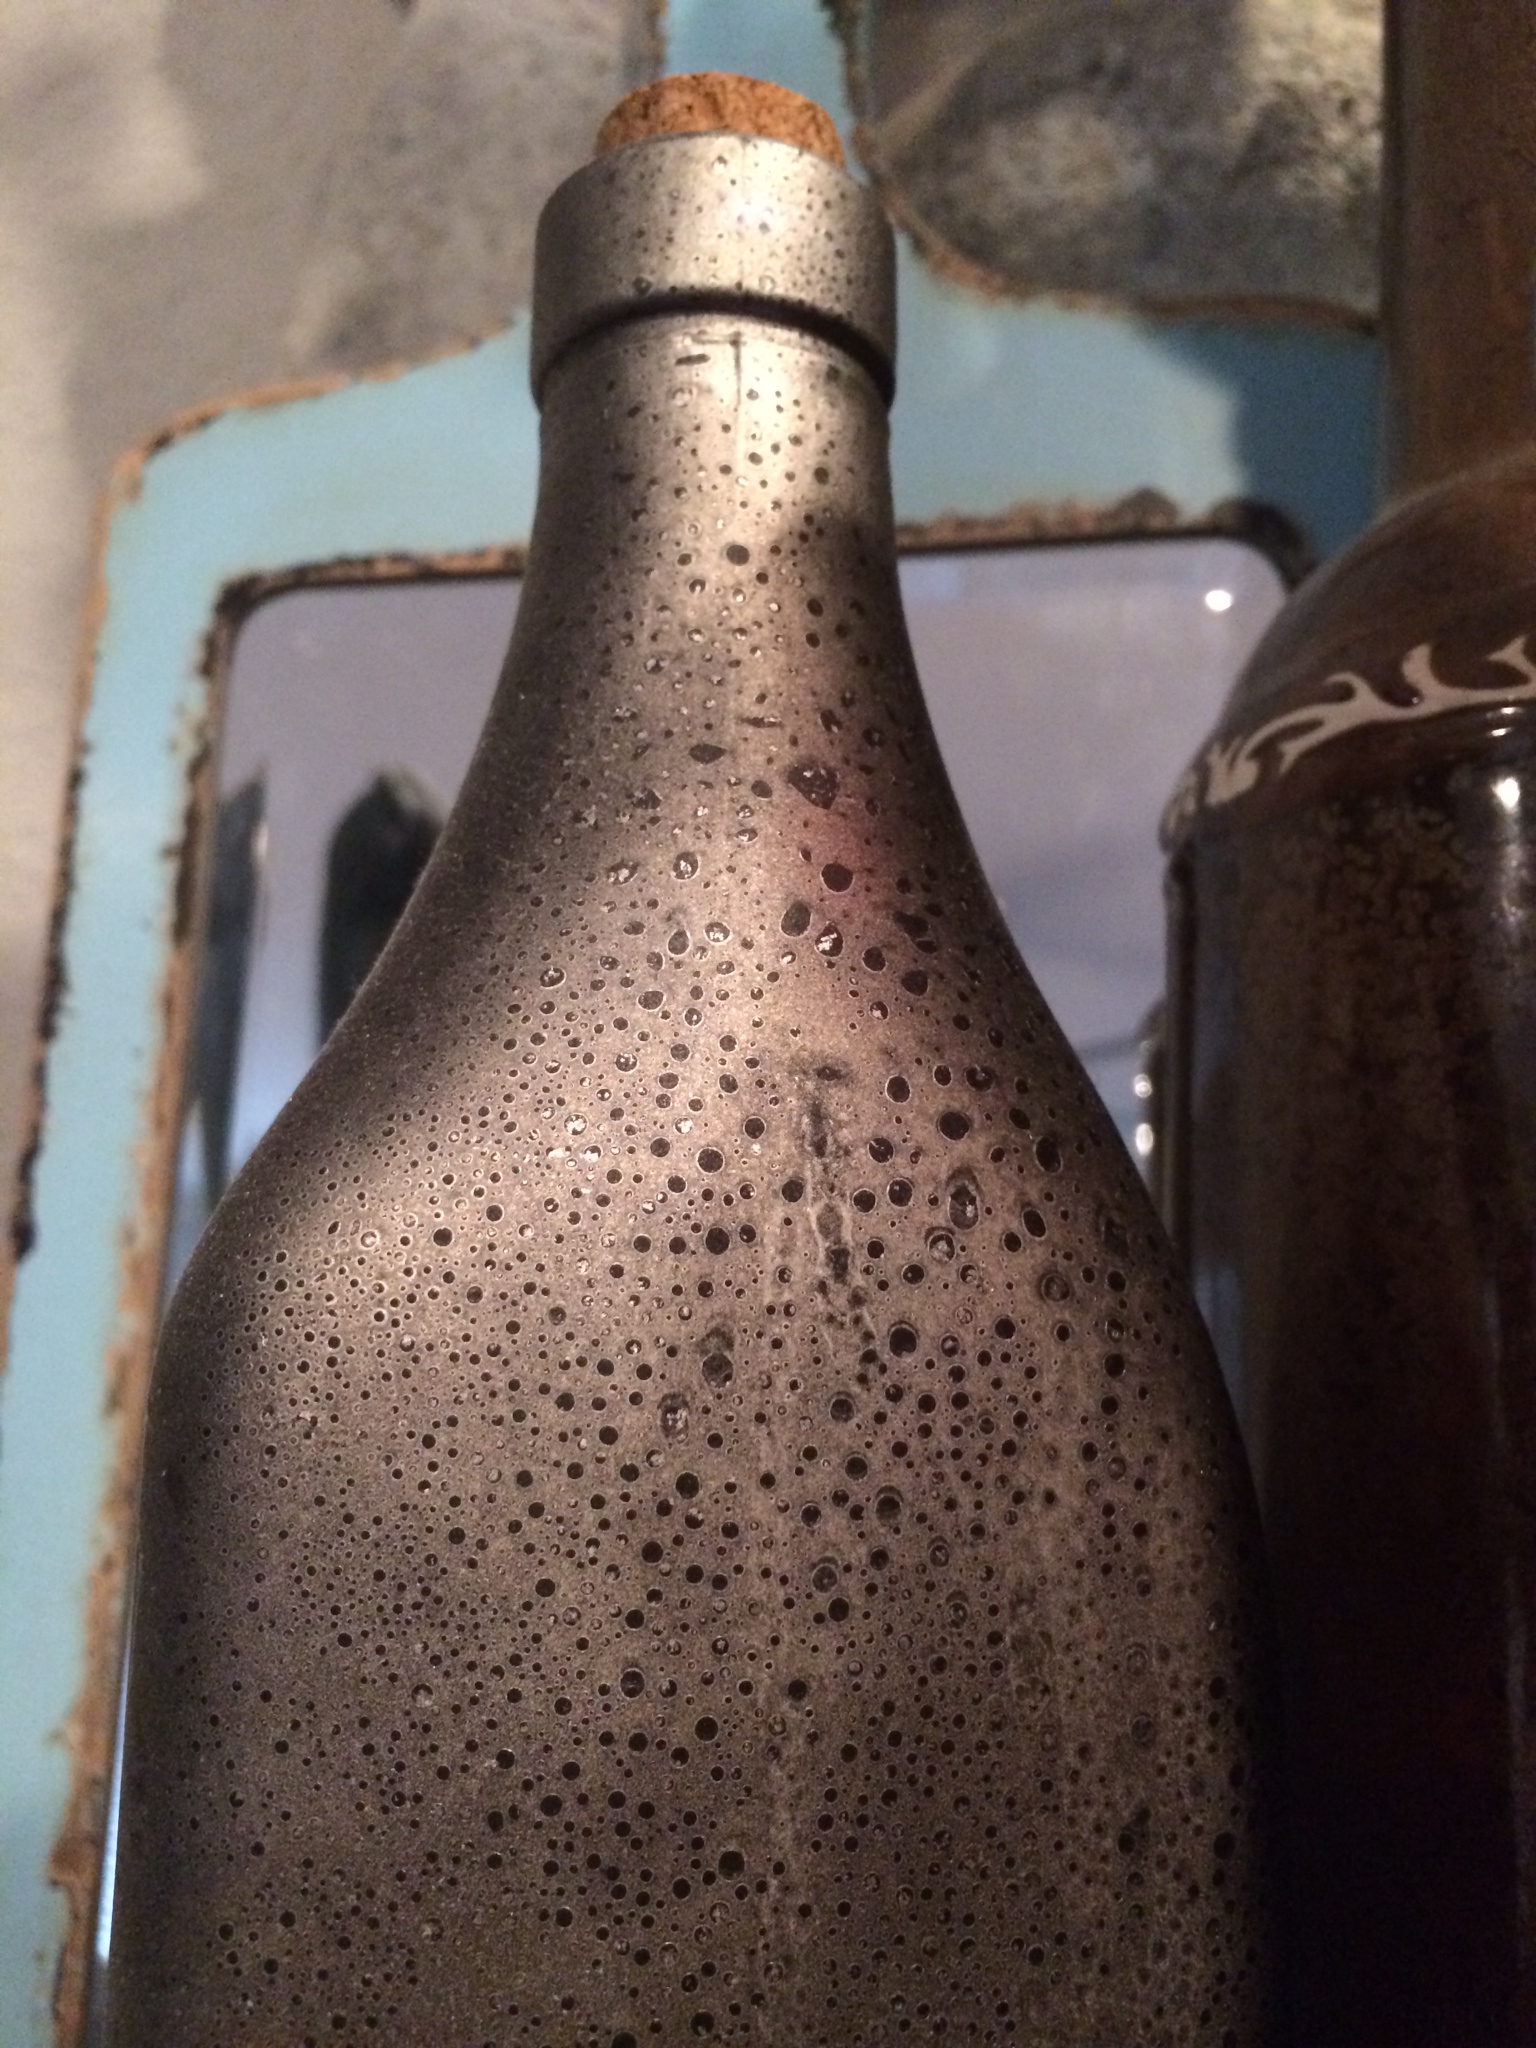
This is the opaque black glass result up close:
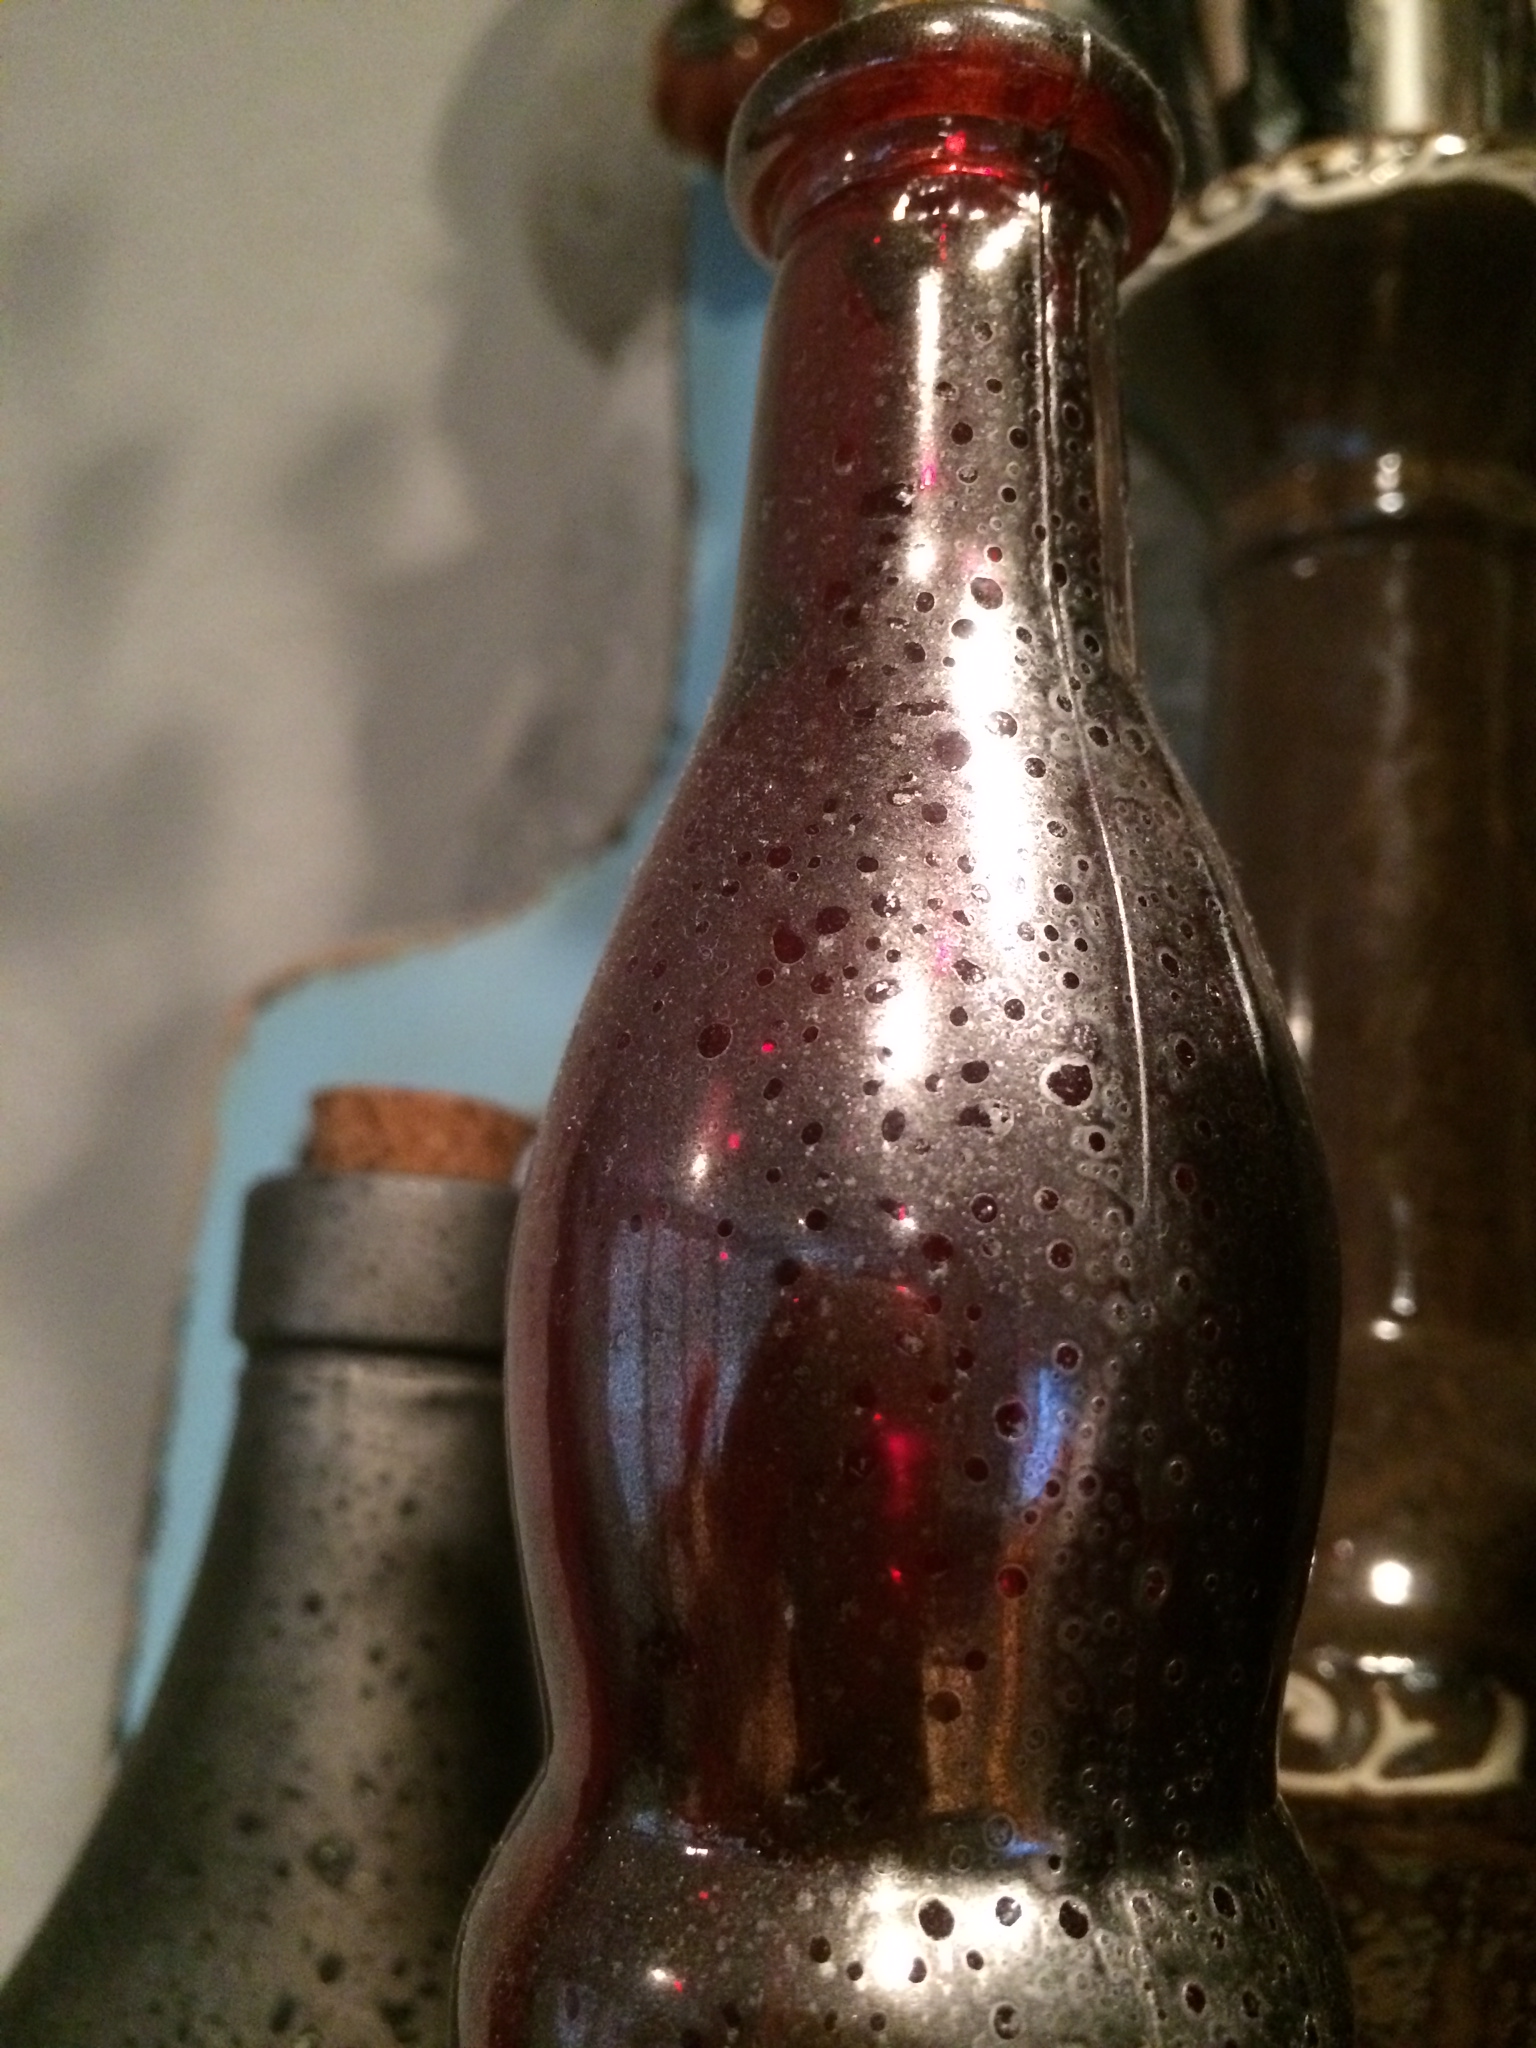
This is the transparent red glass result:

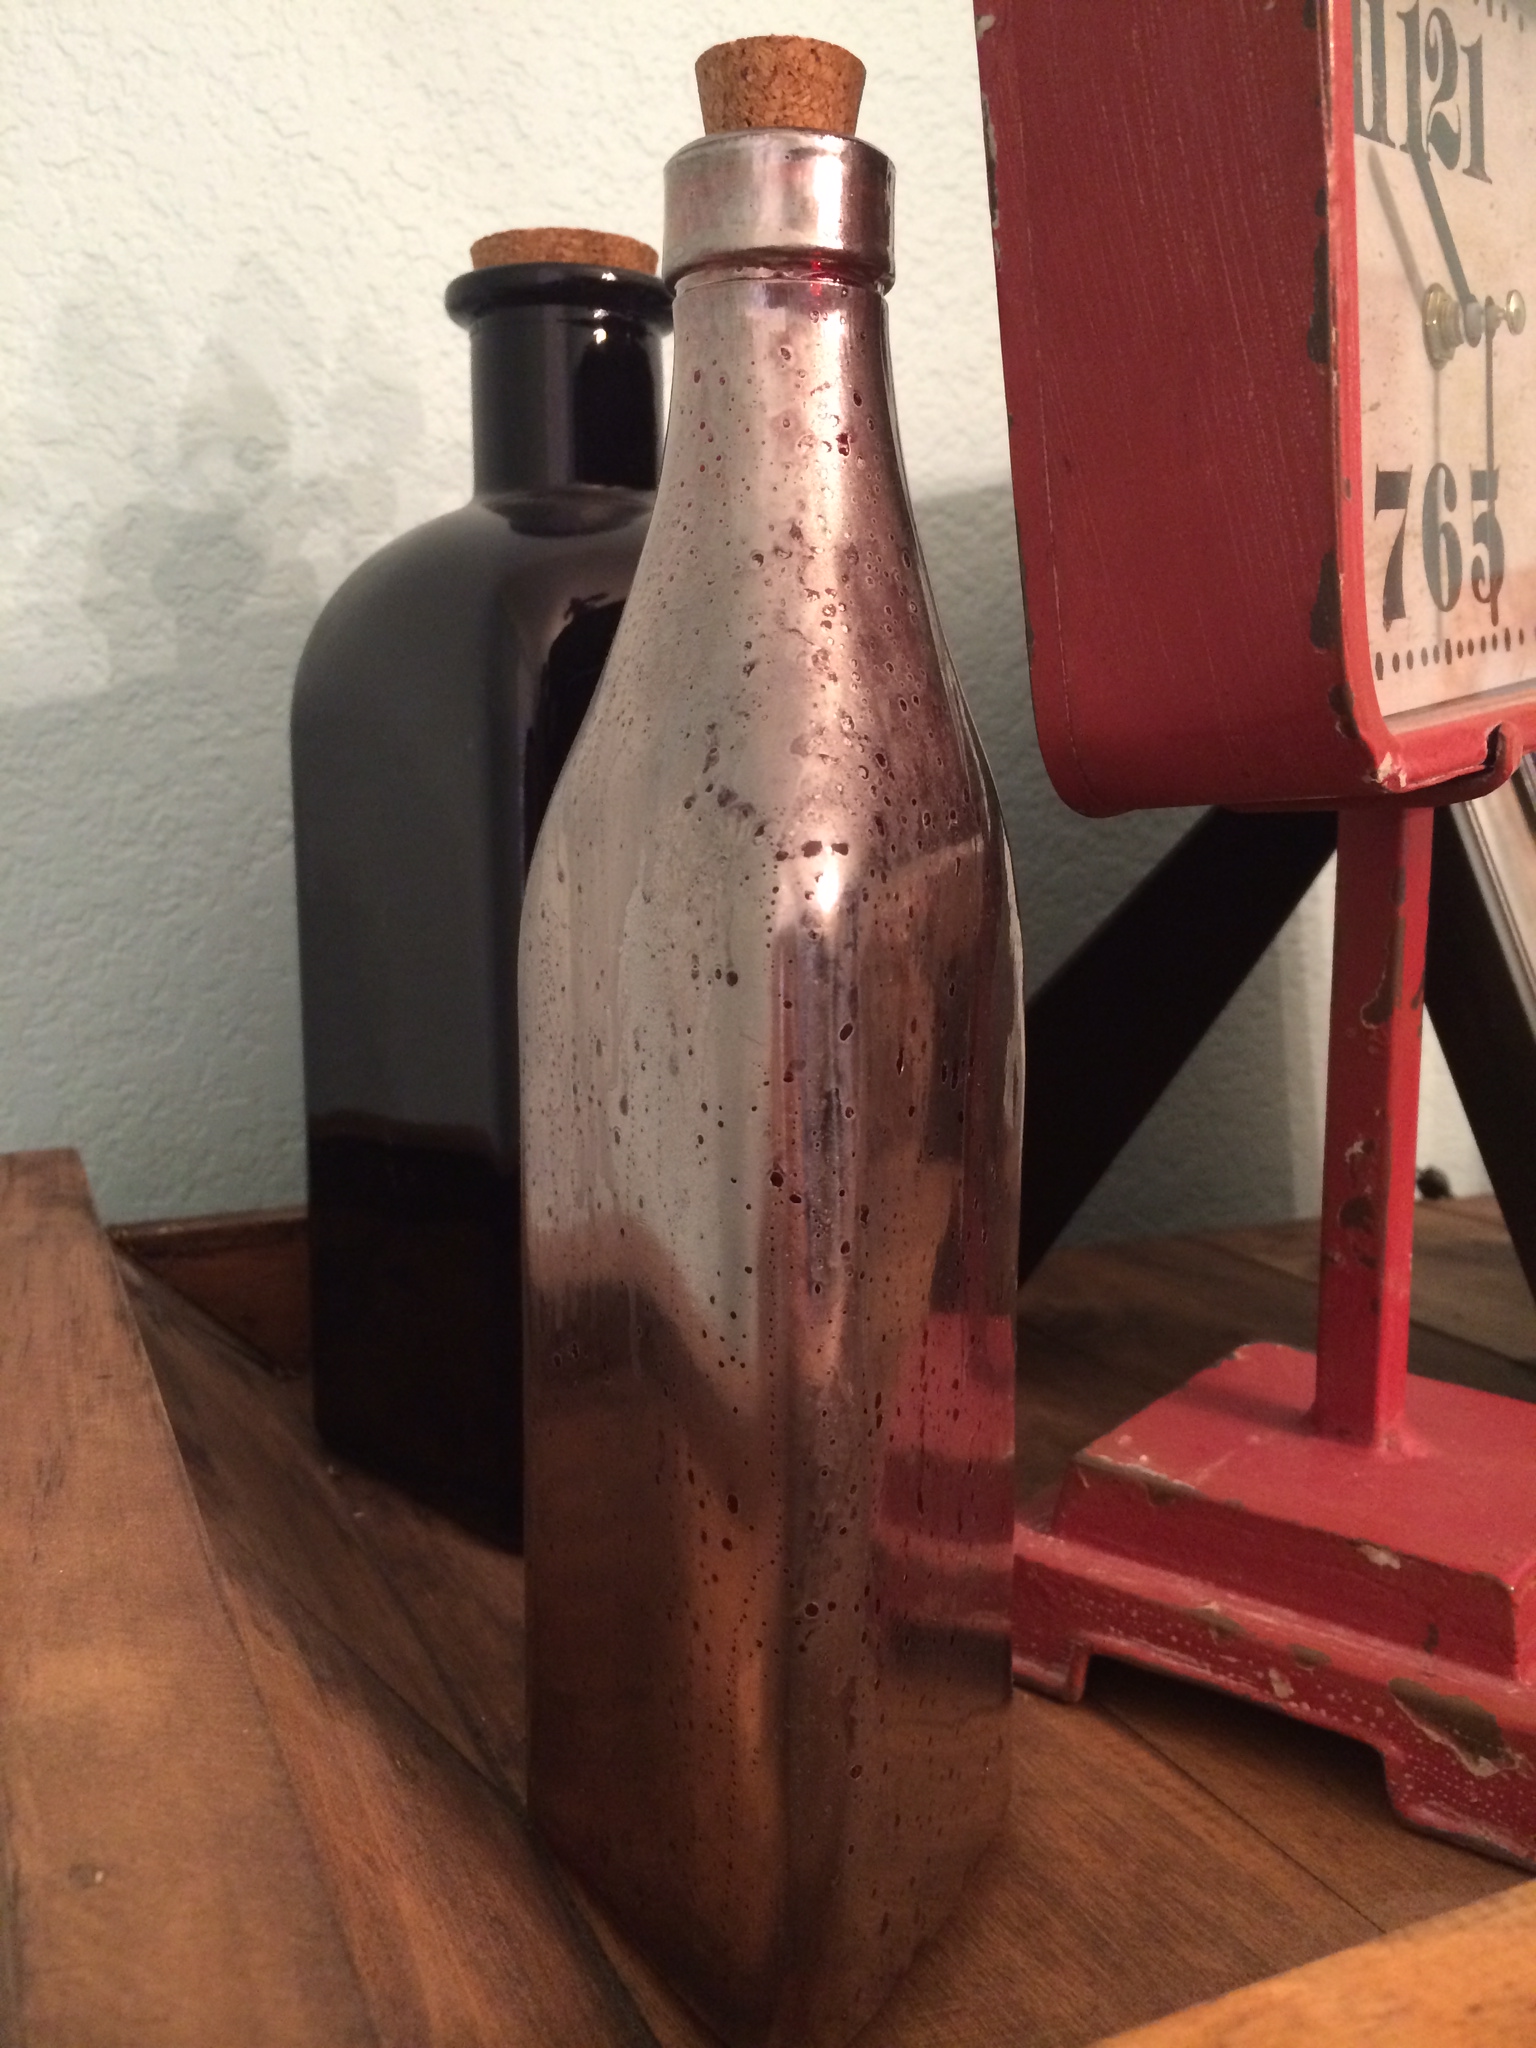
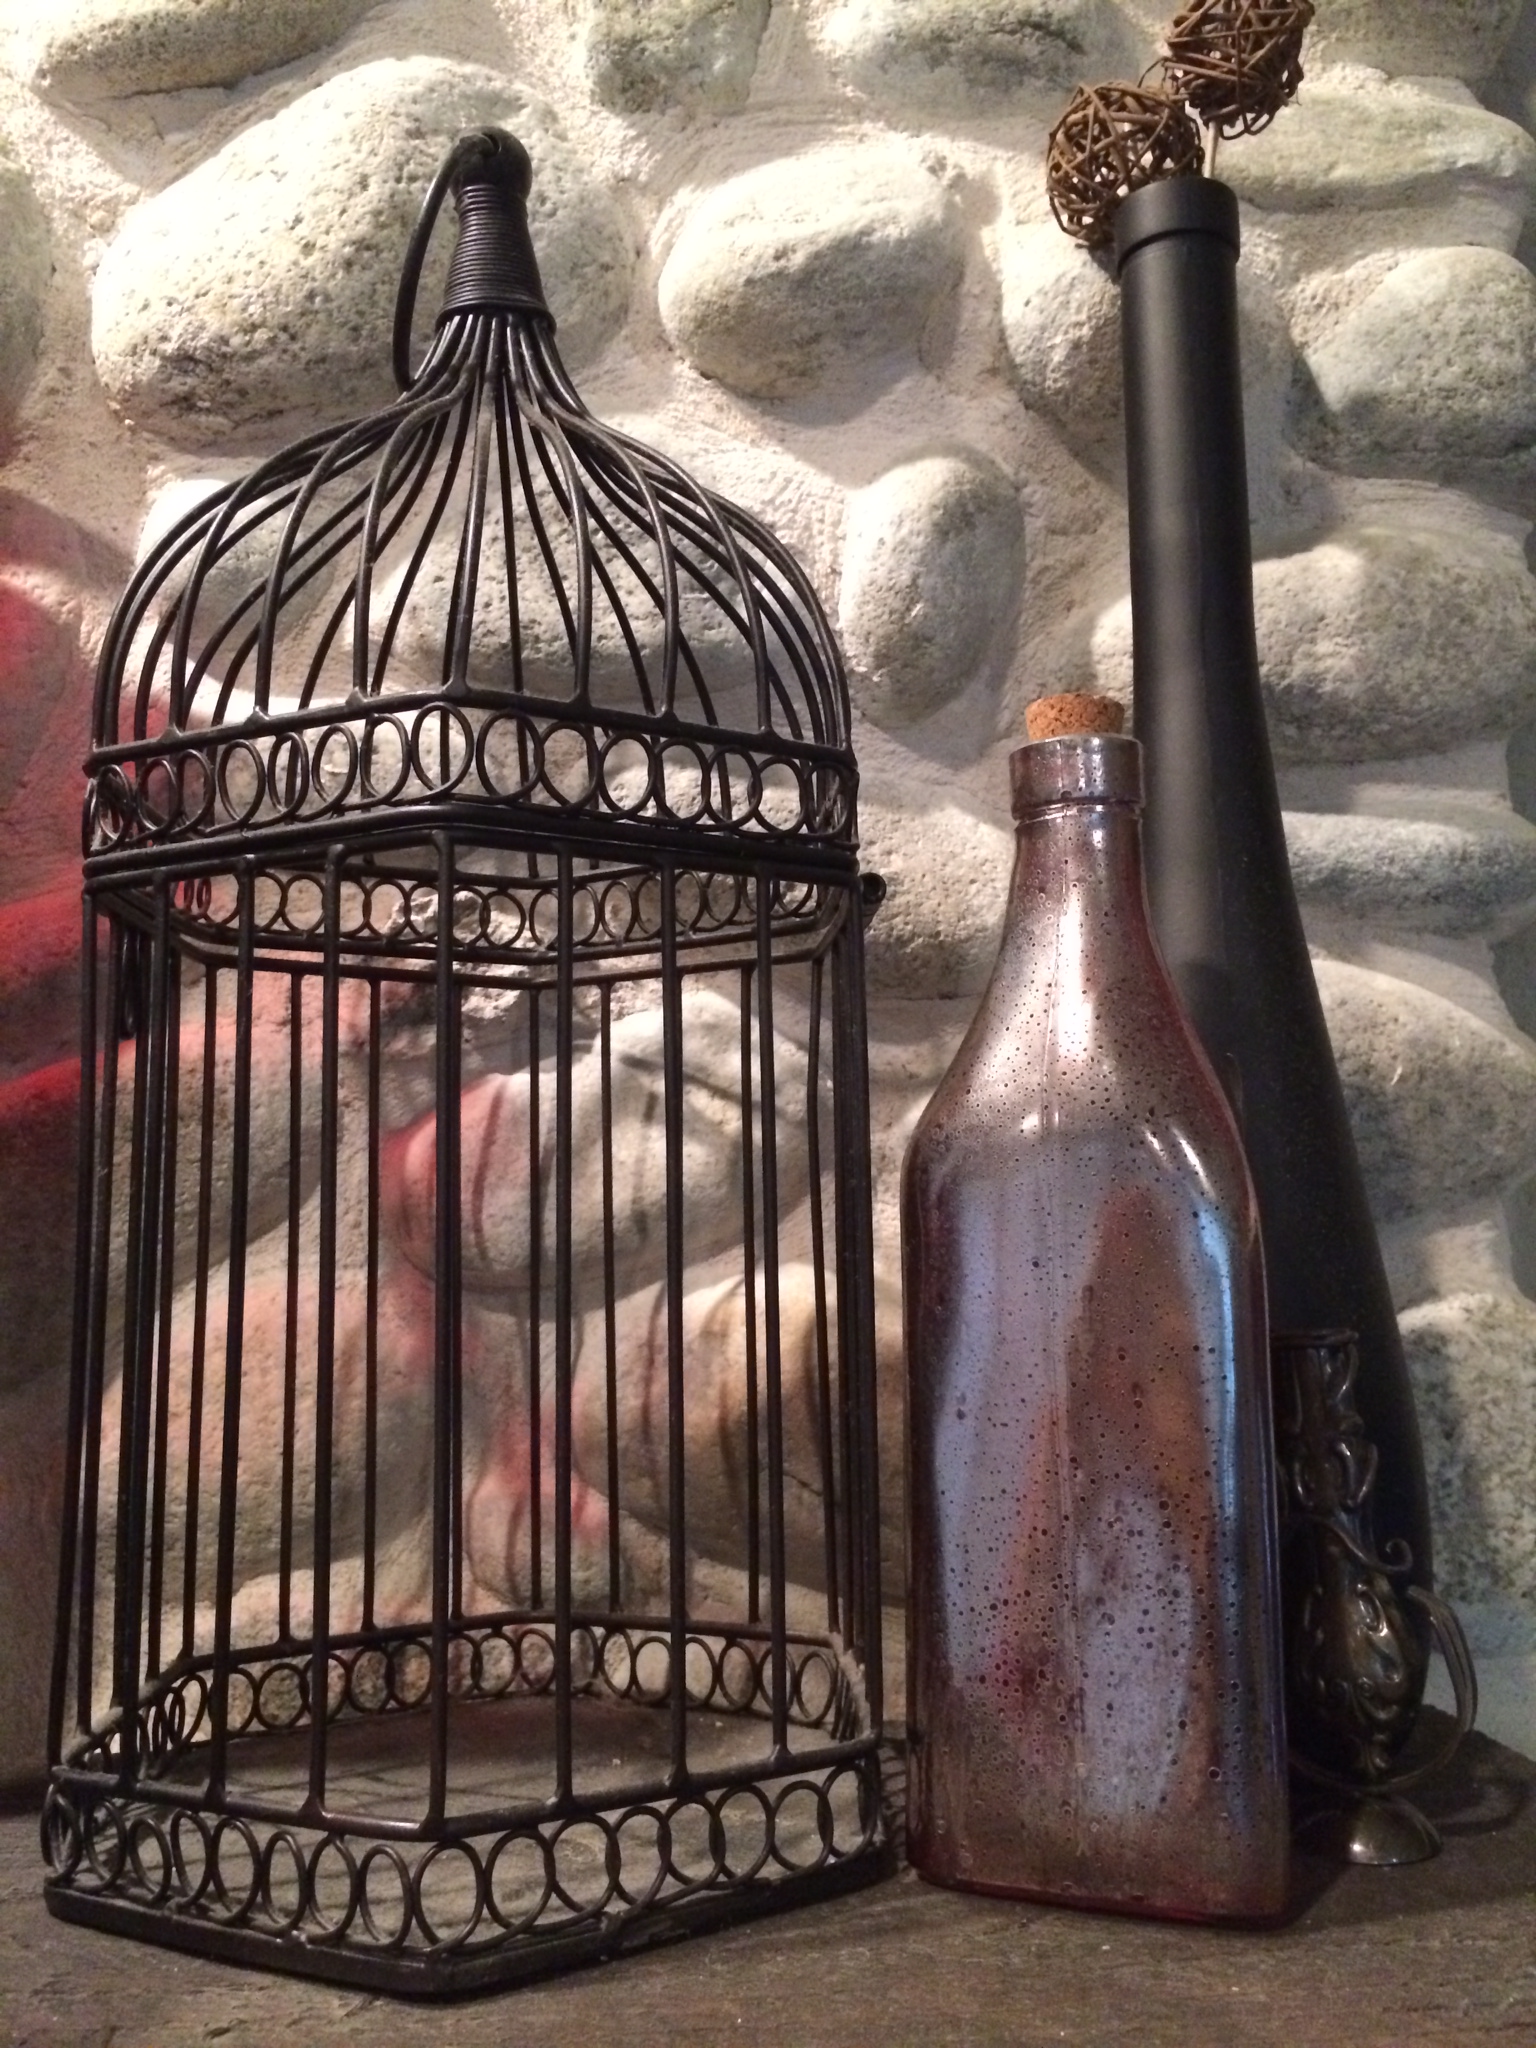
This is the opaque black and transparent red side by side:
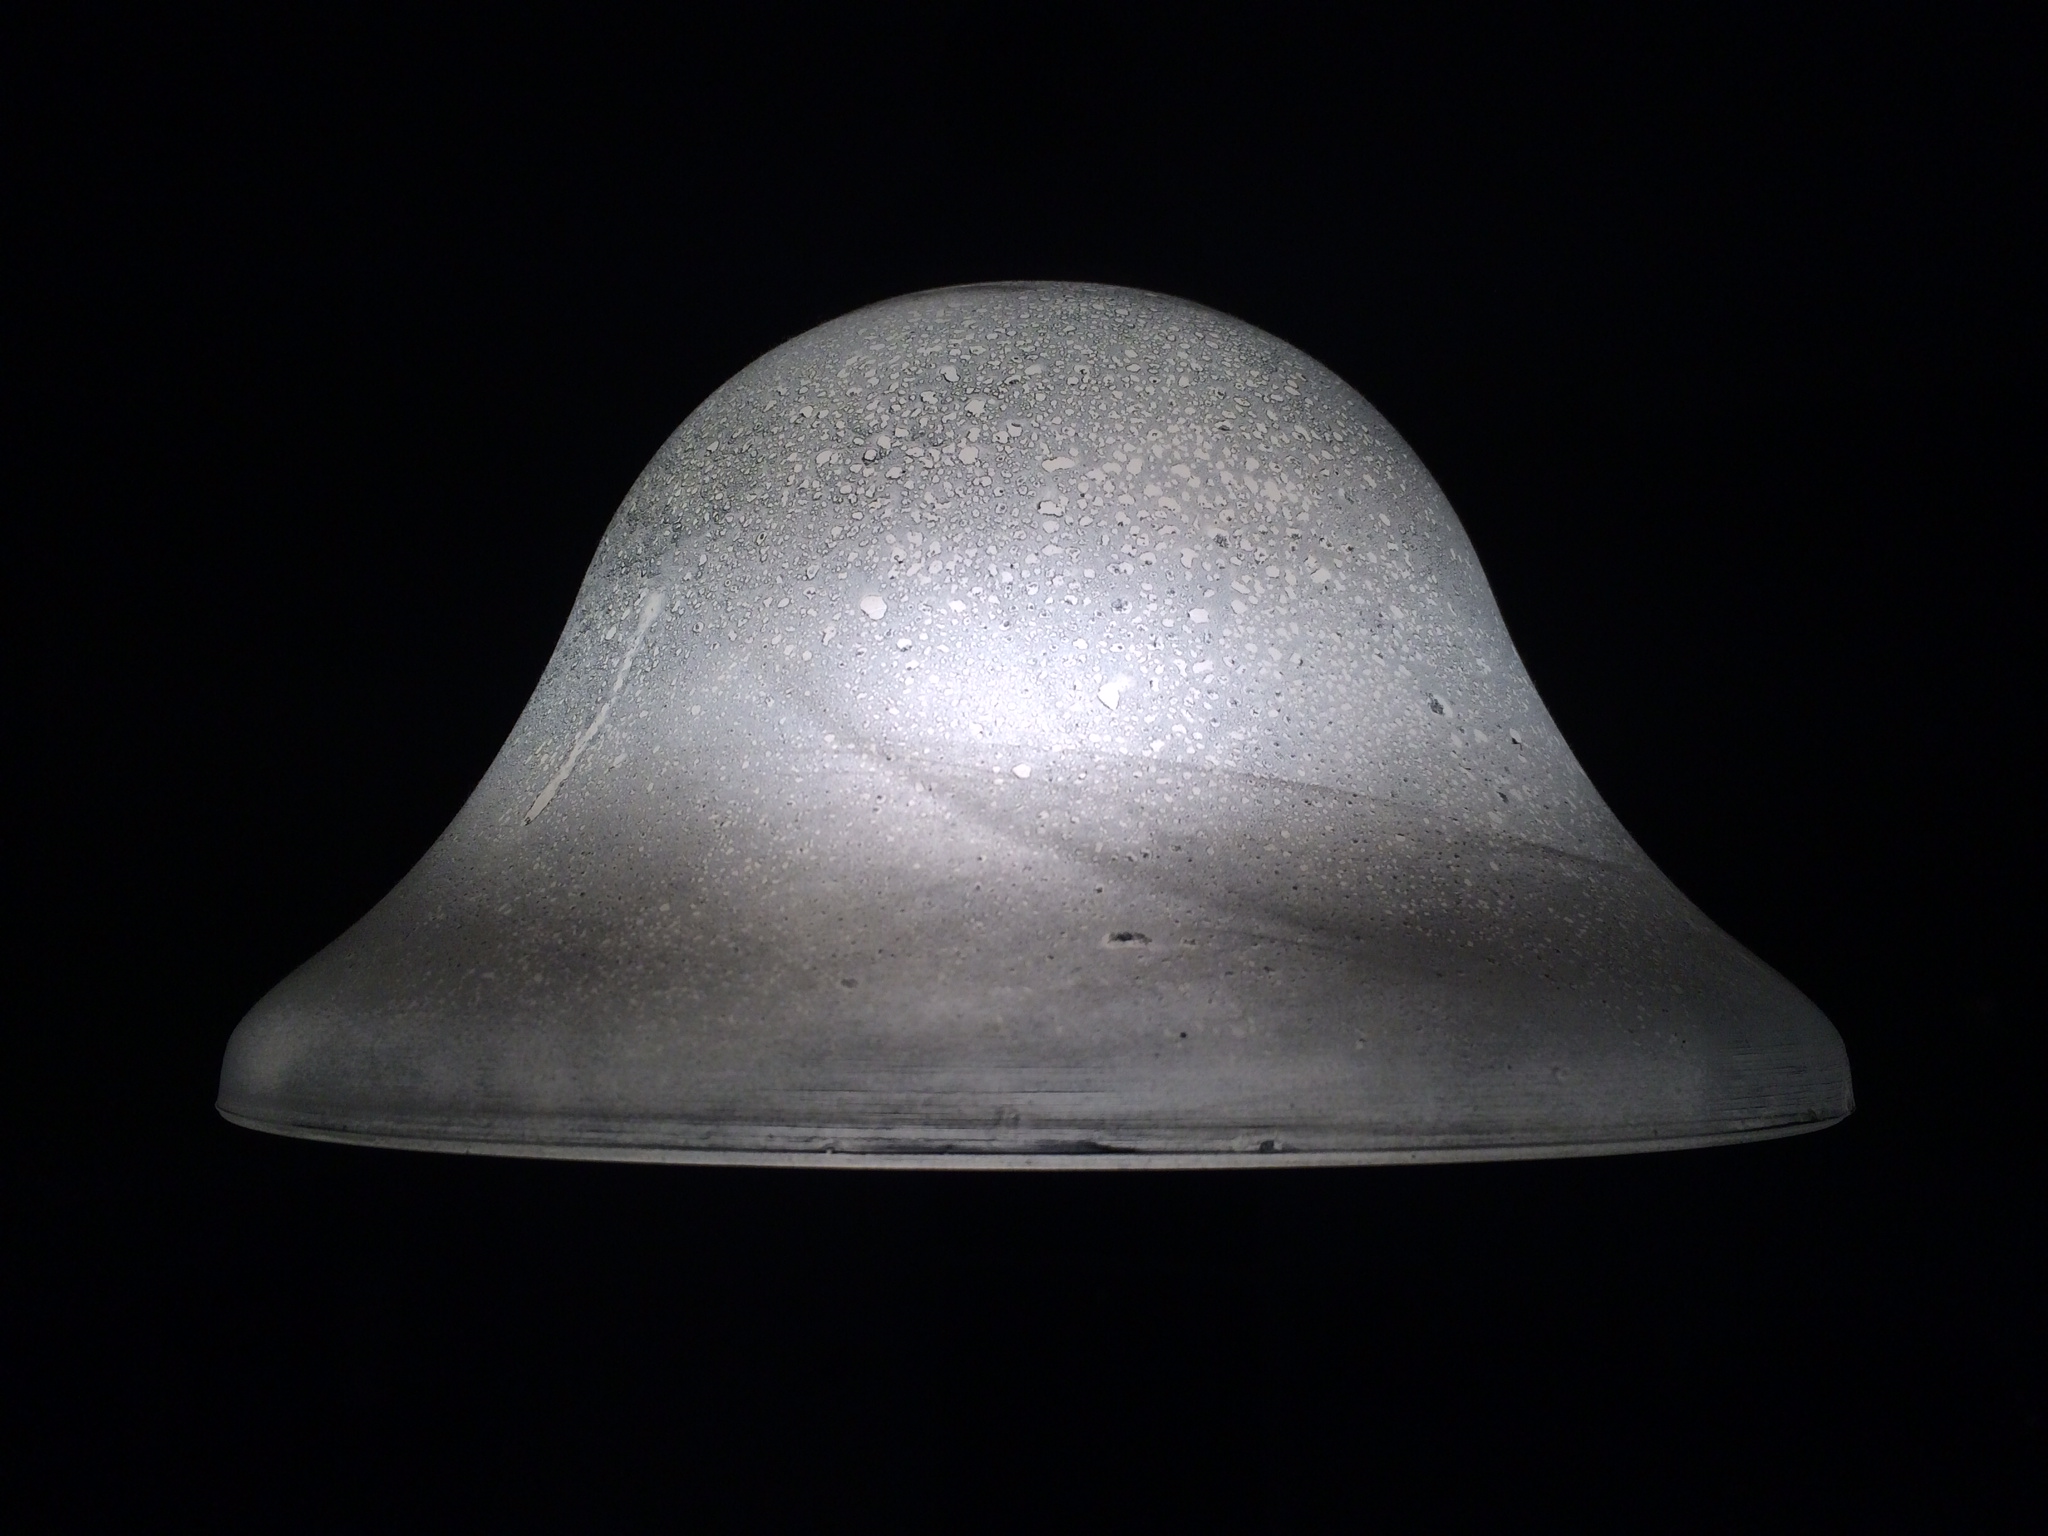
And this is the frosted white glass result:

Also, I couldn’t handle having the bronzed metal on the pendant lights since it clashed with everything in my house, so I used Rub n Buff to make it black. I’ll be posting a different tutorial about Rub n Buff later. If you have any questions about it in the meantime, ask in the comments. It was a nice option for me instead of trying to take down these lights to spray paint them. I just climbed up on the counter and used the Rub n Buff on the hanging pendants. I can’t find my before picture right now, if I find it later, I’ll add it. But this is the after:

So, what do you think of DIY Mercury Glass? If you try it, share your pics with us!
I do not receive any compensation from any of the brands recommended here. Those are just the items I used. However, if they ever decide they want to compensate me for sharing, then I’ll say, “Um, heck yes, and thank you.”
