Drop Dead Doorgeous

Once upon a time, we had an ugly front door.
The wood stain didn’t really match our house, on the inside or the outside. It was just bleh. You can see how upset it made my daughter, seen crying in the window. My husband hated that it swung open into our office on the right, instead of into the main living areas on the left. When we moved in, I made chalk paint with Persimmon Red by Martha Stewart and painted the inside of the door with it, like our office walls, and antiqued it. I liked it a lot, but my husband wasn’t as big a fan. It stayed that way for the first two years in our house, though.


Then my husband found someone who said they could flip our door around. Weird, I know, but it made my husband giddy. Once flipped, the Persimmon Red side now clashed with the outside of the house, and I’m sure violated HOA guidelines. The once boring wood stain that used to be outside, was now inside my house, clashing with the awesome colors surrounding it.
I got approval from the HOA to paint the outside of our door an antique-white color that would match the mortar between our bricks and the decorative concrete rail on our balcony.
This was my inspiration door.

I was driving to a friend’s house one day and saw this door on a house in her neighborhood. Their brick and column surround were similar colors to the brick and concrete on our house, so I thought it would look great on our door.
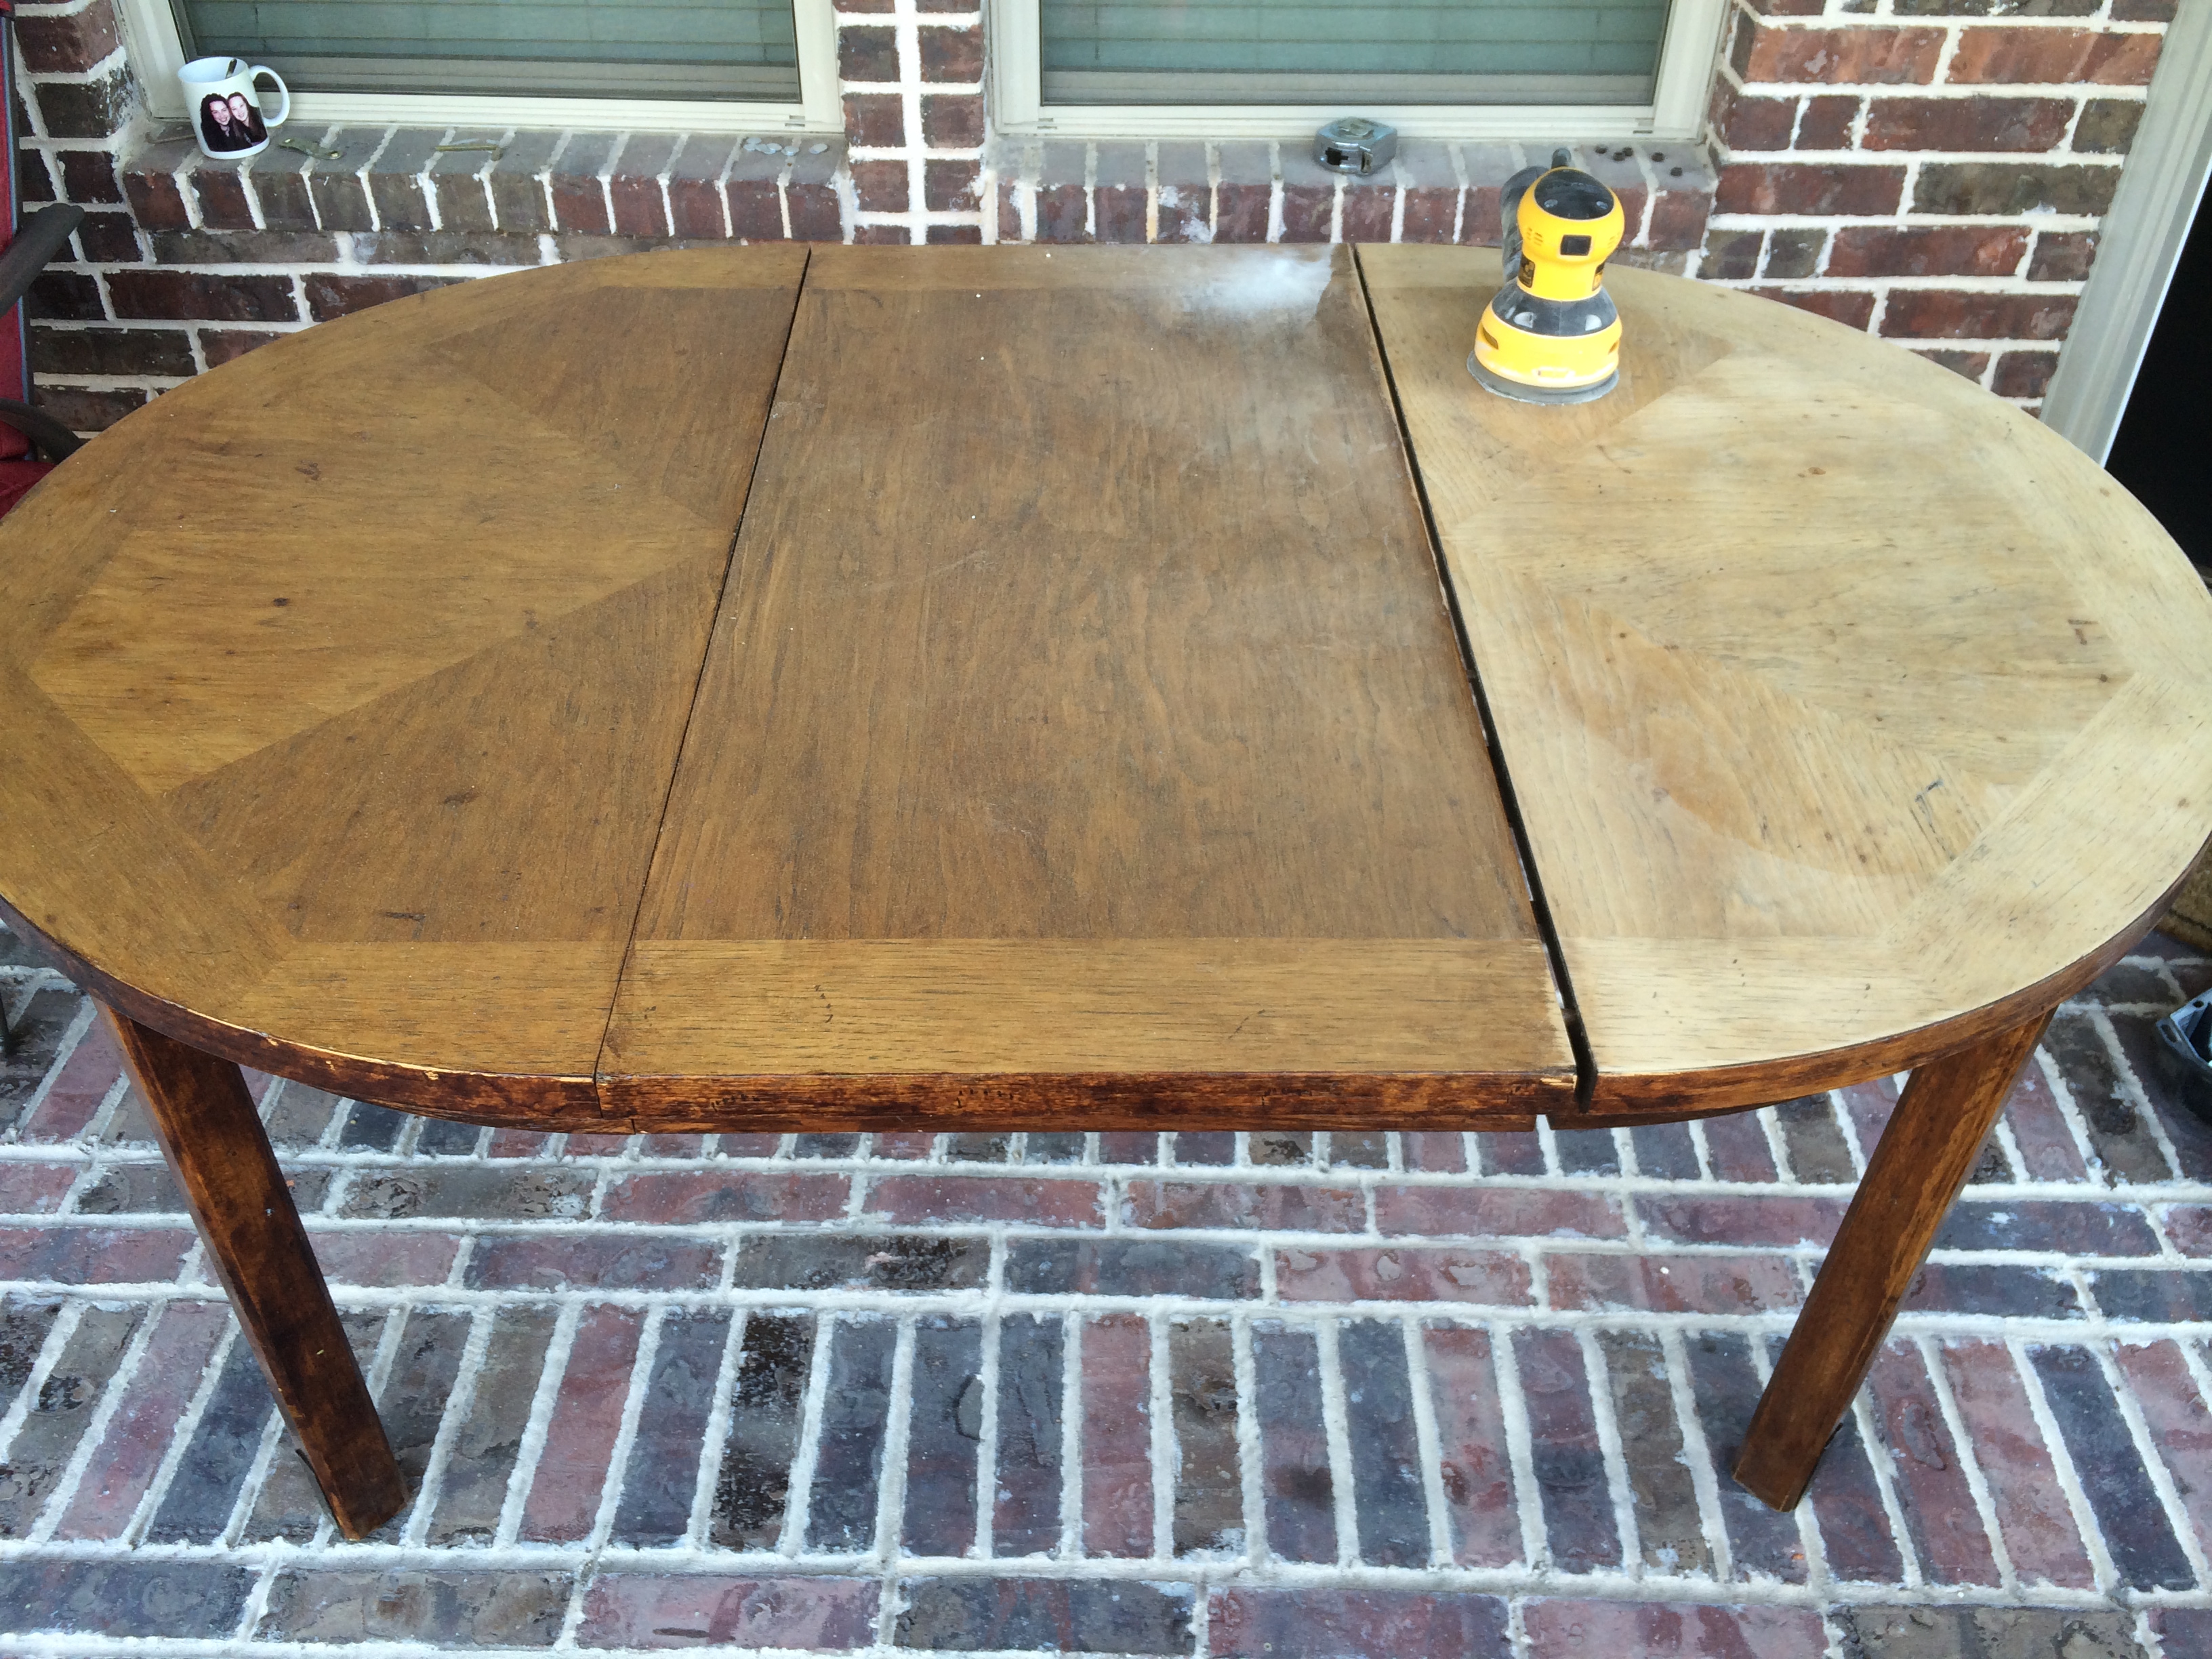
By the time everything was approved and I could start working on the door, I was almost 6 months pregnant. Fortunately, I have a big, strong hubby. He took the door off the hinges and took out it back to sand both sides down. It was quite a process. He used an orbital sander and the door has some scars from his “drive it like you stole it” approach to using a sander. But I’m not complaining, and it adds character, right?
It took way longer than anticipated, so by the time he had sanded both sides, it was too late for me to paint it and we didn’t want to go the whole night without a front door on our house. So, back to its hinges it went, destined to stare at me, ugly and unfinished for another week before we would have time to tackle the project again.

When I was finally able to start painting, I was a bit discouraged by the paint coverage and worried we had really jacked up our door. I used Rust-oleum gloss white paint and primer to prime the door. Check out the video to see how poor the coverage was. I don’t think it was the paint’s fault, I think it was our fault for not sanding it better. We tried a couple different grits and I think they were either too rough or not rough enough. We didn’t find the best option for our door. It was actually sort of fuzzy after we sanded. Like, it seemed to have tiny fibers all over the door. We tried sanding a bit more and it eventually got better in most areas, but some never quite got smooth. Those are the dark areas you’ll see in the video that were not covered well with the primer.
I thought I would use and like RustOleum Heirloom White, but I also bought Matte Castle Rock
. I was trying to match the mortar between my bricks. The Heirloom White was a little too light and the Castle Rock was too dark. Neither of those colors came in a glossy finish, so my intent was to use one and then spray it with a glossy acrylic finish. But since I didn’t care for either color, I then tried Ivory in Gloss from Rust-Oleum
and it was actually a great match. It’s kind of a weird color. It’s a creamy white, but the tint that helps the white become a creamy white is like a peachish color and sometimes the sprayer would just squirt out little globlets of peach. I haven’t really had that happen from other cans of Rust-oleum. Maybe these were an old batch of Ivory or something. But I had to wipe those off quickly so they wouldn’t stand out on the door.
By the way, the most important tool for me when spray painting is this Rust-Oleum Comfort Grip Handle!! It makes the job soooo much easier! Get one! You’ll thank me later!
I let my husband pick the inside color this time and he opted for silver. I ended up using both Rust-oleum’s silver spray paints, Specialty Metallic and Bright Coat Metallic Finish. I tested them both on the door and couldn’t tell enough of a difference between them for this project. These were sprayed over Rust-oleum’s flat gray primer, which had great coverage. I really liked the reflective silver on the door, but the detail on the door got lost with it. I decided to antique both the silver side and the ivory side after hanging the door back up. I used Valspar antiquing glaze for this and the technique is detailed in the video.
This project felt like a train wreck throughout most of the process, but somehow I ended up liking the final product. What do you think? Have you tried spray painting your front door? What’s your dream door color?


BTW, this post wasn’t sponsored by anyone. Those were just the products I used for this project. But I do have affiliate links posted for some of the products I used.